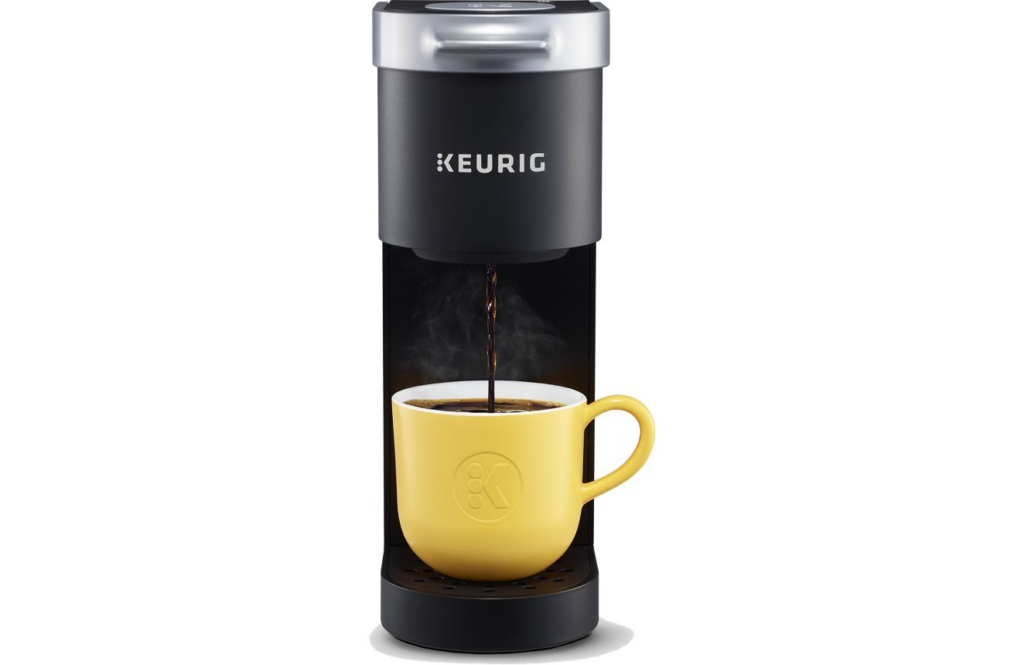
Having a new coffee machine is very exciting but sometimes, there can also be a bit of a learning curve when using said machines. Fortunately, a Keurig Mini is very easy to use and you’ll be having that fresh cup of coffee in no time!
The Keurig Mini only has two buttons – the Power and Brew buttons – so you won’t have to fumble around and press a lot of buttons just to get started.
To use a Keurig Mini, all you have to do is plug in the machine, press the power button, put a K-cup pod in the K-cup pod holder, and press the brew button!
It is a small machine that can fit in small spaces and is very convenient to use. In this article, I will be covering how to set up your Keurig Mini, how to brew your first cup, K-cup pod compatibility, and how to clean and maintain your machine.
In this article:
- How to Set Up A Keurig Mini
- Step-by-step Guide On How to Use a Keurig Mini
- Selecting the Right K Cup
- Maintenance and Cleaning of a Keurig Mini
- Final Thoughts
How to Set Up A Keurig Mini

If you have recently bought a Keurig Mini, setting up your machine is simple and easy to do. Just take it off the box, take the cord out of the cord storage, and plug the device into an outlet!
However, before brewing your first Keurig cup, you need to do a cleansing brew to clean it first.
To perform a cleansing brew:
- Place a mug on the drip tray.
- Fill the reservoir with about 8 oz. of filtered water. You will run a water-only brew so make sure to not put any K-cup pods in the machine. Make sure to not fill water past the MAX line or below the MIN line.
- Lift the lid of the cup area and close it without putting in a K-cup pod. If you see the brew light flash, this means that the Keurig is ready to brew.
- Press the brew button on the top of the cup area and the Keurig will start the water-only brew cycle.
- Once the water has finished dispensing into your mug, take the mug and pour the hot water carefully into your sink.
- Now, you are ready to brew your first cup of K-cup pods!
The cleansing brew is a one-time process so you don’t have to do this every time you want to use your Keurig. This, however, is part of the process when you need to descale your Keurig Mini.
Keurig also doesn’t recommend using distilled water, so make sure to use filtered water not just in the cleansing brew but with the coffee brew as well.
Step-by-step Guide on How to Use a Keurig Mini

Now that you’ve done a cleansing brew, here is a step-by-step guide on how to use a Keurig Mini.
- Place a mug on the drip tray and pour between 6 to 12 oz. of water into the reservoir. Make sure to not fill water past the MAX line or below the MIN line.
- Lift the handle of the Keurig Mini, place your favorite K-cup pod in the K-cup pod holder, and close the lid. Make sure not to open the K-cup pod as the machine already has built-in needles to puncture the K-cup pods.
- Press the brew button on top of the machine and wait for your coffee to brew. When the light indicator is no longer on, this means the brewing cycle is finished and you can enjoy your freshly brewed coffee!
The Keurig Mini is a single-serve coffee maker so you can fill your mug with the amount of water you want for your coffee. However, keep in mind that the minimum amount of water you can pour into the reservoir is 6 oz. while the maximum amount is 12 oz.
Don’t forget to remove the K-cup pod from the machine and wipe off any coffee spills on the drip tray after each use to keep the exterior of your Keurig clean.
Selecting the Right K-Cup Pod

With so many K-cup pod flavors out there, it can be hard to choose which ones to get first. If only you could buy all of them in one go, wouldn’t that be great?
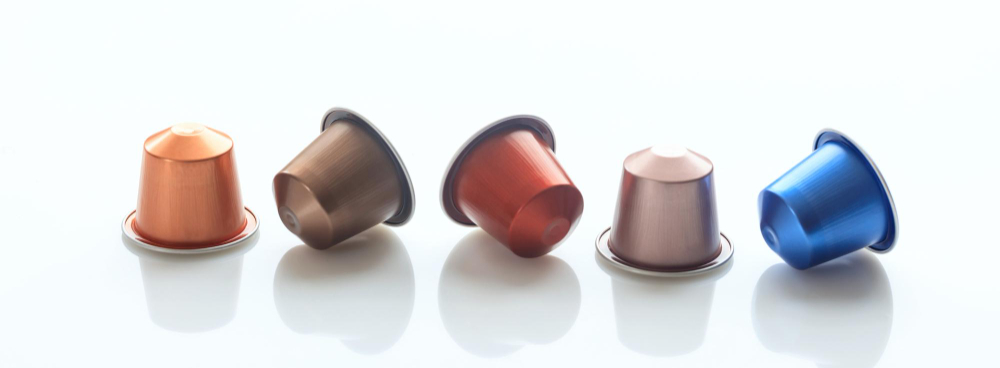
Keurig Mini is compatible with all Keurig K-cup pods and the universal reusable coffee filter but not with the K-Carafe® pods, K-Mug® pods, Vue pods, or Rivo pods.
Some of the Keurig K-cup pod flavors are the Green Mountain Hazelnut, Green Mountain Vanilla Cream, Starbucks Cinnamon Dolce, and Cinnabon Classic Cinnamon Roll Coffee. You can also brew hot chocolate and even iced coffee in your Keurig Mini! You can definitely have your favorite K-cup pod flavor any time you want.
Keurig Mini – Maintenance and Cleaning
Cleaning your Keurig device is essential if you want to make your machine last long. Not only should you clean your Keurig but you also need to maintain it by descaling it. Descaling means removing the mineral deposits and coffee oils that build up in a coffee machine.
You can clean your Keurig Mini by washing the drip tray with soapy water. The Keurig Mini does not have a removable water reservoir. You can wipe the water reservoir with a clean and damp non-abrasive, lint-free cloth after each use.
If you have a Keurig K-Mini Plus, you can remove the reservoir and wash it separately.
To descale a Keurig machine, you need to run several descaling cycles every three to six months. You can use a Keurig descaling solution but you can also just use white vinegar.
To descale a Keurig Mini:
- Place a ceramic mug on the drip tray.
- Remove the K-cup pod from the machine, if any. Turn on the machine and pour about 136 ml of the Keurig descaling solution. Fill the reservoir with fresh water up to 296 ml/10 oz. level. If you don’t have a descaling solution, fill the reservoir with equal parts white vinegar and water.
- Lift and lower the handle of the machine. Make sure to not add any K-cup pod to the machine.
- Press the brew button and wait for the brew cycle to run.
- Once the brew cycle is over empty the contents of the mug over the sink. Place the mug back on the drip tray.
- Repeat step 2 but press the power button when the brew light indicator turns solid. Leave the machine for 30 minutes.
- After 30 minutes, press and hold the brew button to dispense the water into the mug. Keep holding the brew button until all of the water has been dispensed. Pour the contents of the mug into the sink.
- Run a water-only cycle about two more times or until there is no residual taste left. When running the water-only cycle, you don’t need to let the water sit in the machine for 30 minutes.
- Clean the drip tray and wipe off the water reservoir and exterior of the Keurig to finish the cleaning process.
If you use the descaling solution, the machine can dispense foam. This is natural and part of the process so no need to worry. If you run the water-only cycle and no water dispenses, unplug the Keurig and rinse the water reservoir carefully. Plug the machine back and do the water-only rinse cycle (Step 8).
Final Thoughts
Now that you know how to use a Keurig Mini, you can brew a perfect cup of your favorite K-cup pod!
There are not a lot of components in a Keurig Mini and you will be able to familiarize yourself with it easily. Brewing a K-cup pod in a Keurig Mini is also a very simple process and you can learn in a short amount of time.
I have also covered how to maintain and clean a Keurig Mini so you can keep your machine in mint condition. So, go ahead and brew a delicious cup of coffee with your Keurig Mini! Happy brewing!
