
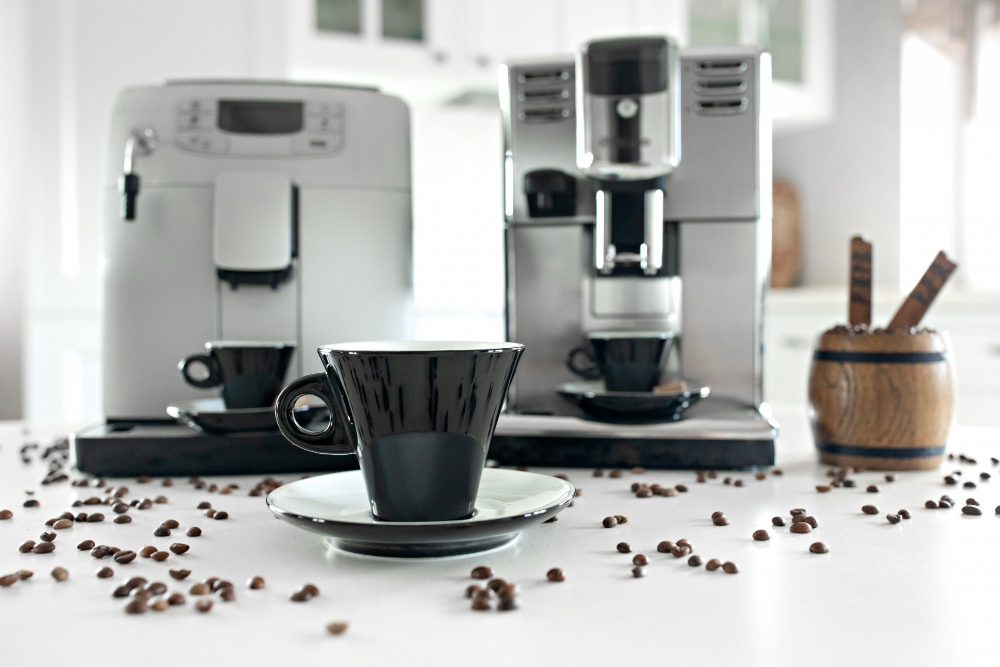
A drip coffee maker is an integral appliance in the home of any coffee lover and is frequently utilized daily, if not more often. Like with any other household goods, it gathers grime and needs regular cleanups to guarantee optimal performance.
The best way to clean your drip coffee maker is to wash the removable parts with soapy water once every month and decalcify or descale it every three months. There is a difference between just cleaning and descaling a coffee maker, so make sure you also descale your machine!
As someone who drinks coffee once in a while, I definitely keep my coffee maker clean so I can brew the best coffee for a good pick-me-up. In this article, we will talk about how to clean your coffee maker to ensure that every cup that you brew is bursting with flavor!
In this article
- What You’ll Need
- Step-by-step Process
- Let Your Coffee Maker Cool First
- Wash Removable Components
- Clean The Base And Reservoir Of Your Machine
- Decalcify Your Coffee Maker Every Three Months
- Signs That You May Need To Clean Your Coffee Maker
- Tips On Cleaning A Drip Coffee Maker
- Summary
What You’ll Need
Before you start your cleaning process, make sure you have everything you need to clean your coffee maker:
- White vinegar
- Water
- Dish soap
- Non-abrasive sponge
- New paper coffee filters
- Bottle brush (optional)
- Old toothbrush
Step-by-step Process
Once you have gathered all the necessary supplies, it’s time for some cleaning!
1. Let Your Coffee Maker Cool First
Before anything else, unplug your coffee maker and let it cool first if you will be cleaning it after brewing your coffee. Make sure to empty to empty the water from the reservoir. Dispose also of any used coffee grounds from the filter and the carafe.
2. Wash Removable Components
Wash any removable parts of the coffee maker with warm, soapy water. Make sure to use a non-abrasive sponge to avoid scratching the carafe and other components of your coffee maker. Let these parts air dry while you move on to clean the machine itself.
You can soak the removable filter in white vinegar before brushing it with an old toothbrush to get rid of the small granules on the filter’s mesh and wash it with warm, soapy water to clean it thoroughly.
3. Clean The Base And Reservoir Of Your Machine
The base of a coffee maker also gets very dirty because of coffee spills, grounds, and oils. To clean the base of your coffee maker, dip an old toothbrush in white vinegar to remove any dirt in the reservoir area and the surface of the heater plate.
You can also use a small bottle brush to clean any hard-to-reach crevices on the base of your machine. Rinse the brush with warm water and brush the surface that you’ve just cleaned.
Once your coffee maker is clean and the removable components are all dry, you can re-assemble your coffee maker.
4. Decalcify Your Coffee Maker Every Three Months
Cleaning your drip coffee maker with soapy water regularly is good practice but it is also important to decalcify your machine. You can do this once every three months to remove any buildup in your machine. Hard minerals can build up in your coffee maker over time and this can make brewing coffee take a long time because of the coffee oils that the beans produce while brewing. Decalcifying your coffee maker removes any pieces of buildup.
To decalcify your machine, fill the reservoir with equal parts water and white vinegar and place a clean filter in the filter basket.
Make sure the coffee pot is placed on the heating plate beneath the drip spout.
Brew the water and vinegar solution as how you would brew your coffee. Once the brew cycle is complete, let the solution sit in the machine for at least 15 to 20 minutes. After that, you can discard the solution in the coffee pot.
Empty the reservoir and wash the removable components, reservoir, filter, and coffee pot with warm, soapy water. Once clean, reassemble your coffee maker, pour clean water into the reservoir, and place the clean filter and coffee pot back.
Brew the water and discard it after the brew cycle has finished. You can repeat this step 1 to 2 times until your machine is clean and the vinegar smell is completely gone from your machine.
If you have a Keurig Coffee Maker, you can descale it with equal parts white vinegar and water.
Signs That You May Need To Clean Your Coffee Maker

Knowing when to clean your coffee maker is important so you can maintain your machine and ensure that you have a delicious cup of coffee each time you use it. Your coffee maker may look clean on the outside but there will be signs that you need to look for to know when it's time to clean your machine.
- If you notice that your coffee starts to taste extra bitter or tastes strange, this is a sign that a cleanup is overdue. Buildup can prolong the brewing process because of the residue buildup from your coffee grounds and it is starting to affect the taste of your coffee.
- If you see coffee grounds on your brew basket, it is a sign of a clogged filter and the machine is not brewing your coffee fully because the water flow is clogged.
- A clogged coffee maker will also not produce steam while brewing so if your coffee maker does not produce steam, it is a sign that it is clogged and in need of cleaning.
- If your machine suddenly has lingering odors, it can be a sign that mold and mildew have developed in your coffee maker and need immediate cleaning. Any visible mold or mildew growth is also a sign that you need to clean your coffee maker ASAP!
- A noisy coffee maker can also be a sign of buildup and immediate cleaning is necessary.
Tips On Cleaning A Drip Coffee Maker
Cleaning your coffee maker regularly will make sure that you brew good coffee each time and decalcifying every three months will remove any grim and build-up inside your machine. Make sure to rinse the removable parts thoroughly so you don’t end up with soap-flavored coffee. Most people also tend to forget the filter but you also need to clean it to remove coffee oils and residue that has built up over time.
Avoid using any harsh chemicals and abrasive cleaning materials to preserve the quality of your machine. As long as you clean and take care of your coffee machine, you will be brewing good-quality coffee for a long time!
In Summary
You don’t have to rinse every part of your coffee maker with soapy water daily but regular cleaning at least once a month and decalcifying it every three months can keep your coffee maker in good condition. If you want to keep your coffee maker clean daily, you can rinse the coffee pot with water after each use and let it dry. You also wipe the drip tray daily to prevent coffee spills from staining the surface. A clean coffee maker makes for a happy coffee lover so make sure to keep your coffee maker in good condition!