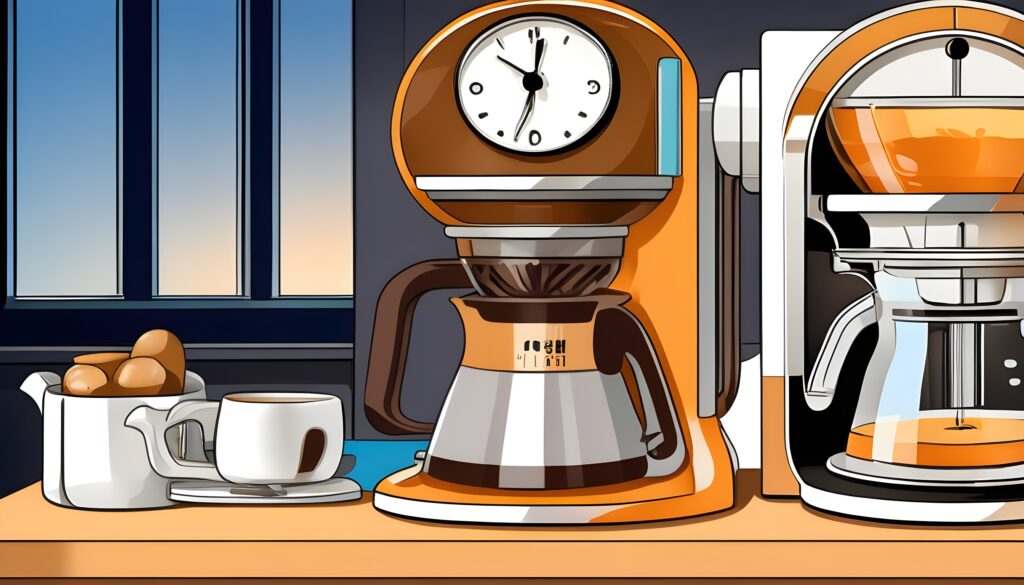
Somehow, I find coffee makers with programmable clocks very convenient and the Keurig K-Duo is one of them.
Having a clock on a coffee maker may seem insignificant but it can also be helpful if you don’t have a clock in your kitchen or coffee area. However, if it is not programmed correctly, it might just set you up for trouble.
If you have a brand new Keurig K-Duo, you have to set the time right. Lucky for you, changing the time on a Keurig K-Duo is an easy process and something that you can do in less than 5 minutes.
There are buttons on the K-Duo’s control panel that you can press to set the time on your coffee maker. Did you know that you can also set your Keurig K-Duo to brew a cup of coffee ahead of time? The “AUTO” button on a K-Duo allows you to program the machine to brew coffee up to 24 hours in advance.
In this article, I will be covering how you can change the time and set the auto-brew time on a Keurig K-Duo. I will also be talking about some of the reasons why your machine won’t auto-brew and some troubleshooting tips to make your machine run properly again.
In this article:
- How to Set the Time on a Keurig K-Duo
- How to Set Auto Brew Time on a Keurig Duo
- What if the Auto Brew is Not Working?
How to Set the Time on a K-Duo
Setting the time on a Keurig K-Duo is a very simple process and does not take a long time to do.
Here is a step-by-step process on how you can change the time on your K-Duo.
- Plug in your machine if it isn’t already and press the power button to turn it on.
- Press the “H” button on the control panel for 3 to 5 seconds or until you see the time and the brew light indicator starts to pulse.
- Press the “H” (Hours) button multiple times to set the hours at your preferred time.
- Once you have set the hour, press the “M” (Minutes) button multiple times to set the minutes at your preferred time.
- Press the “K” button to save the time on your device. The time on your device should stop blinking and this means that you have successfully changed the time on the K-Duo.
How to Set Auto Brew Time on a Keurig Duo
There may be times when you are running late and have missed brewing your daily coffee because of it. With the K-Duo, you can set the auto-brew time so you can program the Keurig to brew the coffee for you at a specific time.
If you plan on setting the auto brew, make sure that the clock on your K-Duo is set at the correct time. Otherwise, you might end up having coffee at the wrong time. Follow the steps above if the time on your Keurig K-Duo is not correct.
To set the auto brew time on your K-Duo:
- Fill the water reservoir with water up to the MAX line.
- Place the paper filter and coffee grounds on the machine.
- Press the “AUTO” button and set the time using the “H” & “M” buttons to when you want the K-Duo to start brewing. Once you have set the time, press the blinking BREW button to confirm the time.
- After confirming the time, select your brew size from the control panel. You can choose from 6, 8, 10, or 12 oz. / cups. Press the blinking BREW button again to confirm your selection.
If you have successfully set the auto-brew time on your K-Duo, the AUTO button should light up. You will also be able to see a clock symbol on the display panel. This means that the auto-brew function is set.
You can turn off the auto brew on a K-Duo by pressing the AUTO button again. Doing so will make the clock symbol stop showing on the display panel.
When setting up the auto brew, make sure that the carafe is empty as the brewing will begin automatically on the time that you set.
If you want a detailed guide on how to set your K-Duo (or other Keurig coffee makers such as the K-Elite or K-Supreme Plus Smart), you can head to this article.
Related article: How to Set your Keurig’s Auto-Off Feature
What if the Auto Brew is Not Working?
There could be several reasons why your K-Duo did not brew at your set time or why it is not working.
It could be that you have not saved the time on your machine. If you have not saved the time, the devices won’t be programmed to auto-brew your coffee. Make sure that the “H”, “M”, and “BREW” buttons are blinking before pressing them to confirm the time.
If the “H” and “M” buttons are not blinking, try turning off your machine and unplug it from the outlet. You need to wait for 30 seconds before plugging it back in.
Make sure to set the time again if it resets and repeat the process for setting up the auto-brew function on the K-Duo.
If you find that resetting your machine does not work, check if you are putting enough water in the water reservoir. It could also be that your machine is clogged and needs descaling.
Descaling a Keurig K-Duo only takes less than an hour and is an essential part of owning a Keurig. Over time, Keurigs and other coffee makers can get clogged because of mineral deposits and oil buildup.
Descaling cleans and unclogs the deposits and buildup so your machine can work efficiently again.
If cleaning and descaling do not work, it might be time to call Keurig’s customer support. If you’ve only had your Keurig K-Duo for less than a year, see if it is covered by the limited warranty so you can have it repaired or replaced for free.
Final Thoughts
Setting the time on a Keurig K-Duo is very simple and can be done in 5 minutes or less. If your machine not showing the correct time, you can change it by pushing just a couple of buttons.
You can also set the K-Duo to brew your coffee automatically for up to 24 hours in advance. This is definitely a coffee maker if you want to have a fresh cup of coffee ready once you wake in the morning.