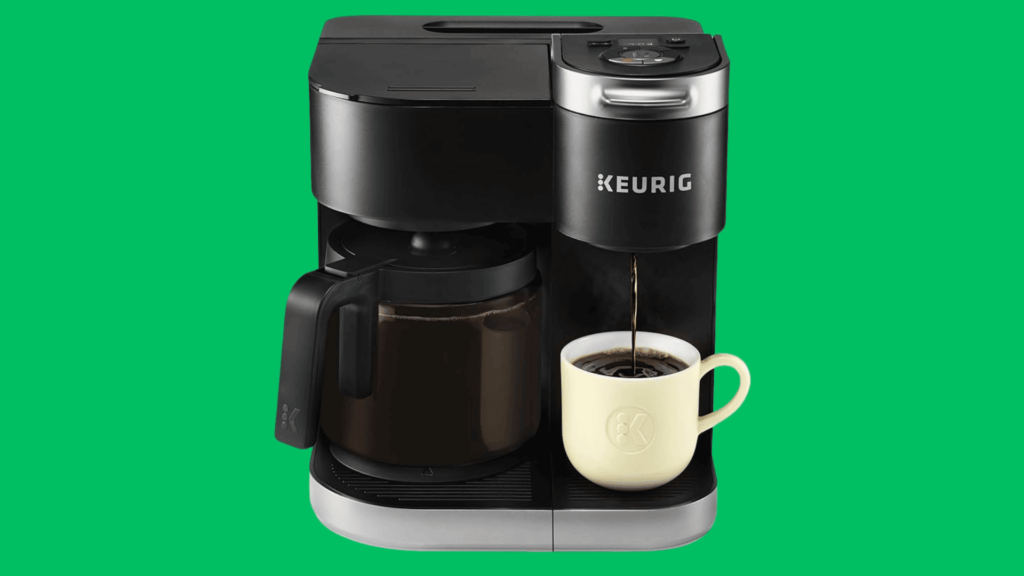
Welcome to the world of effortless coffee brewing with your Keurig K-Duo! But even the best machines need a little upkeep. Over time, mineral buildup can affect your machine's performance and the taste of your coffee. However, descaling your Keurig is an easy fix to ensure your coffee always tastes fresh. Let's dive into the simple steps to keep your Keurig K-Duo in pristine condition.
In This Article:
- Pros/Cons of Vinegar and Descaling Solution
- How To Descale Keurig K Duo (With Pictures)
- Why Descaling is Important
- How Often to Descale
- Keurig Rinse Pods
What You'll Need
- Mug
- Water
- Descaling Solution or Vinegar
- 30 Minutes
Pros/Cons of Vinegar and Descaling Solution
There are pros and cons to using vinegar and descaling solution on your Keurig K Duo:
| Pros | Cons | |
| Vinegar |
|
|
| Descaling Solution |
|
|
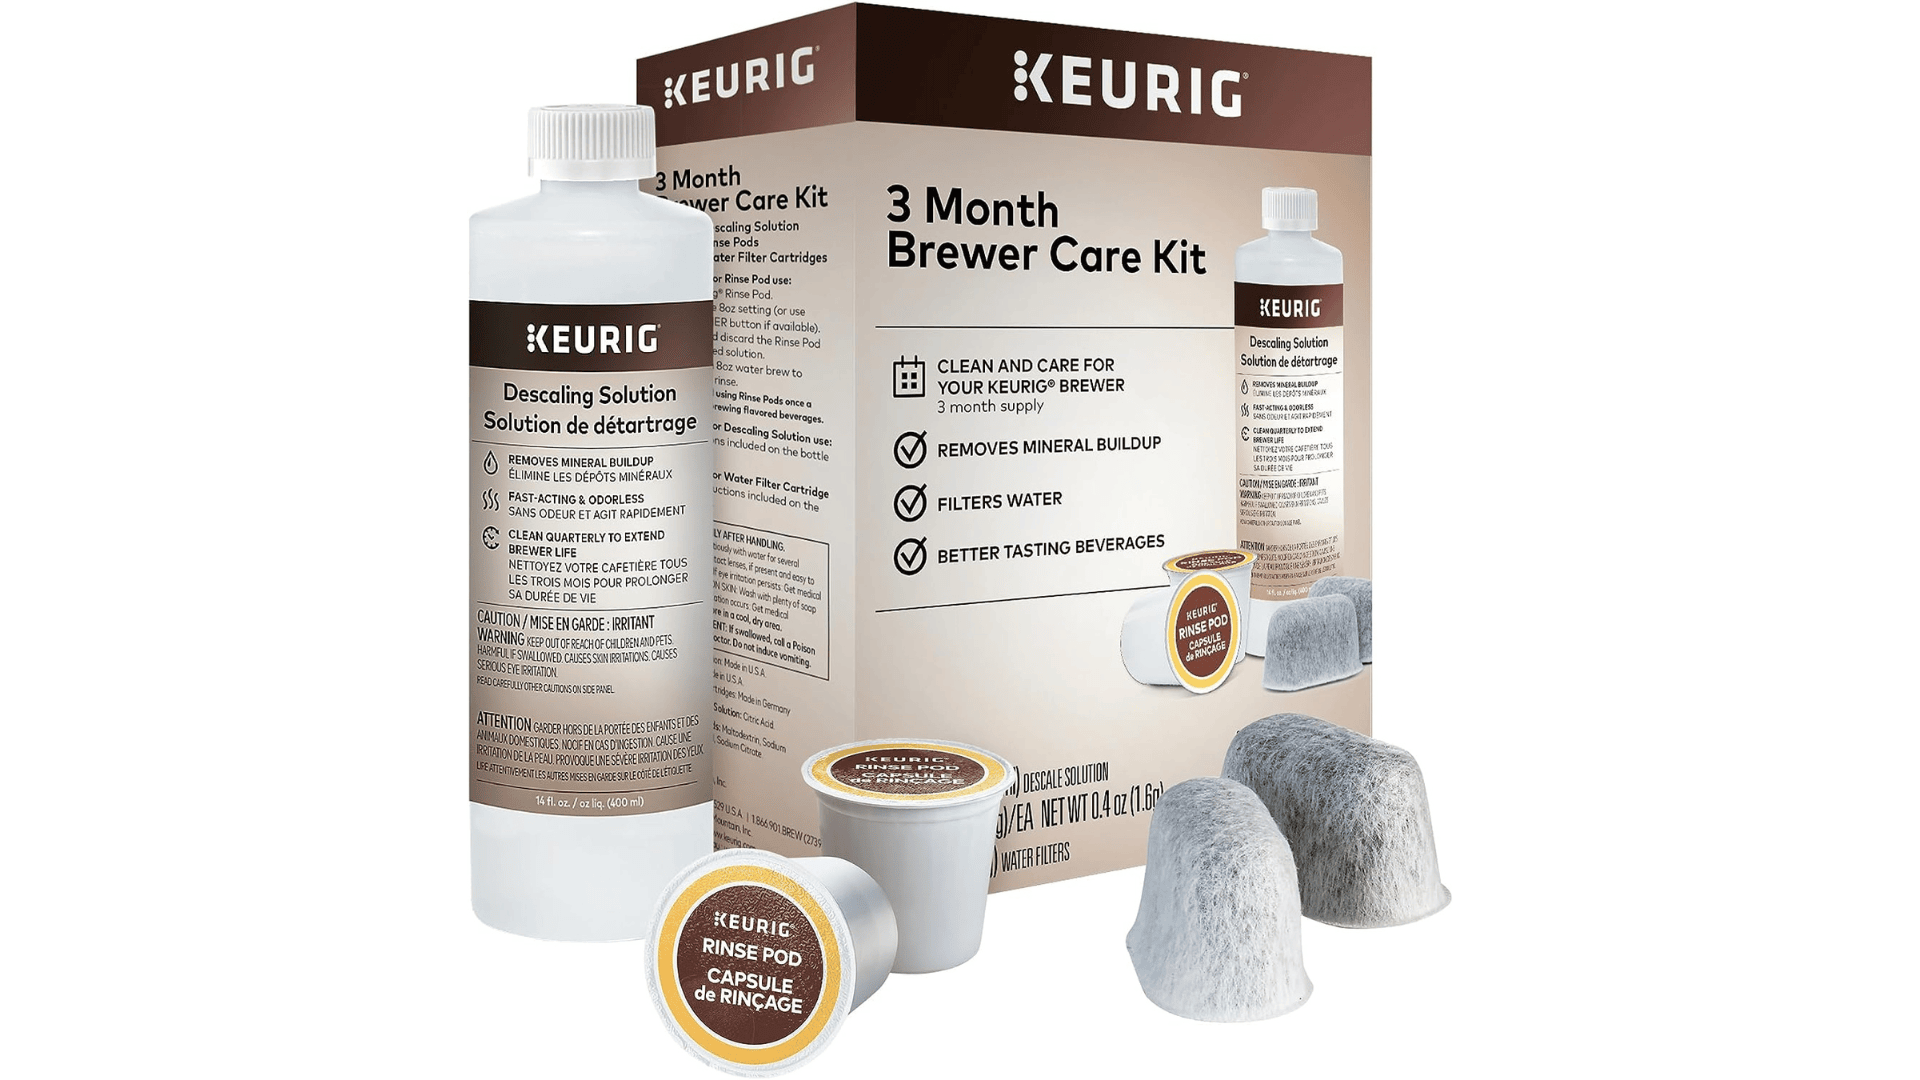
Check out Keurig's descaling solution below.

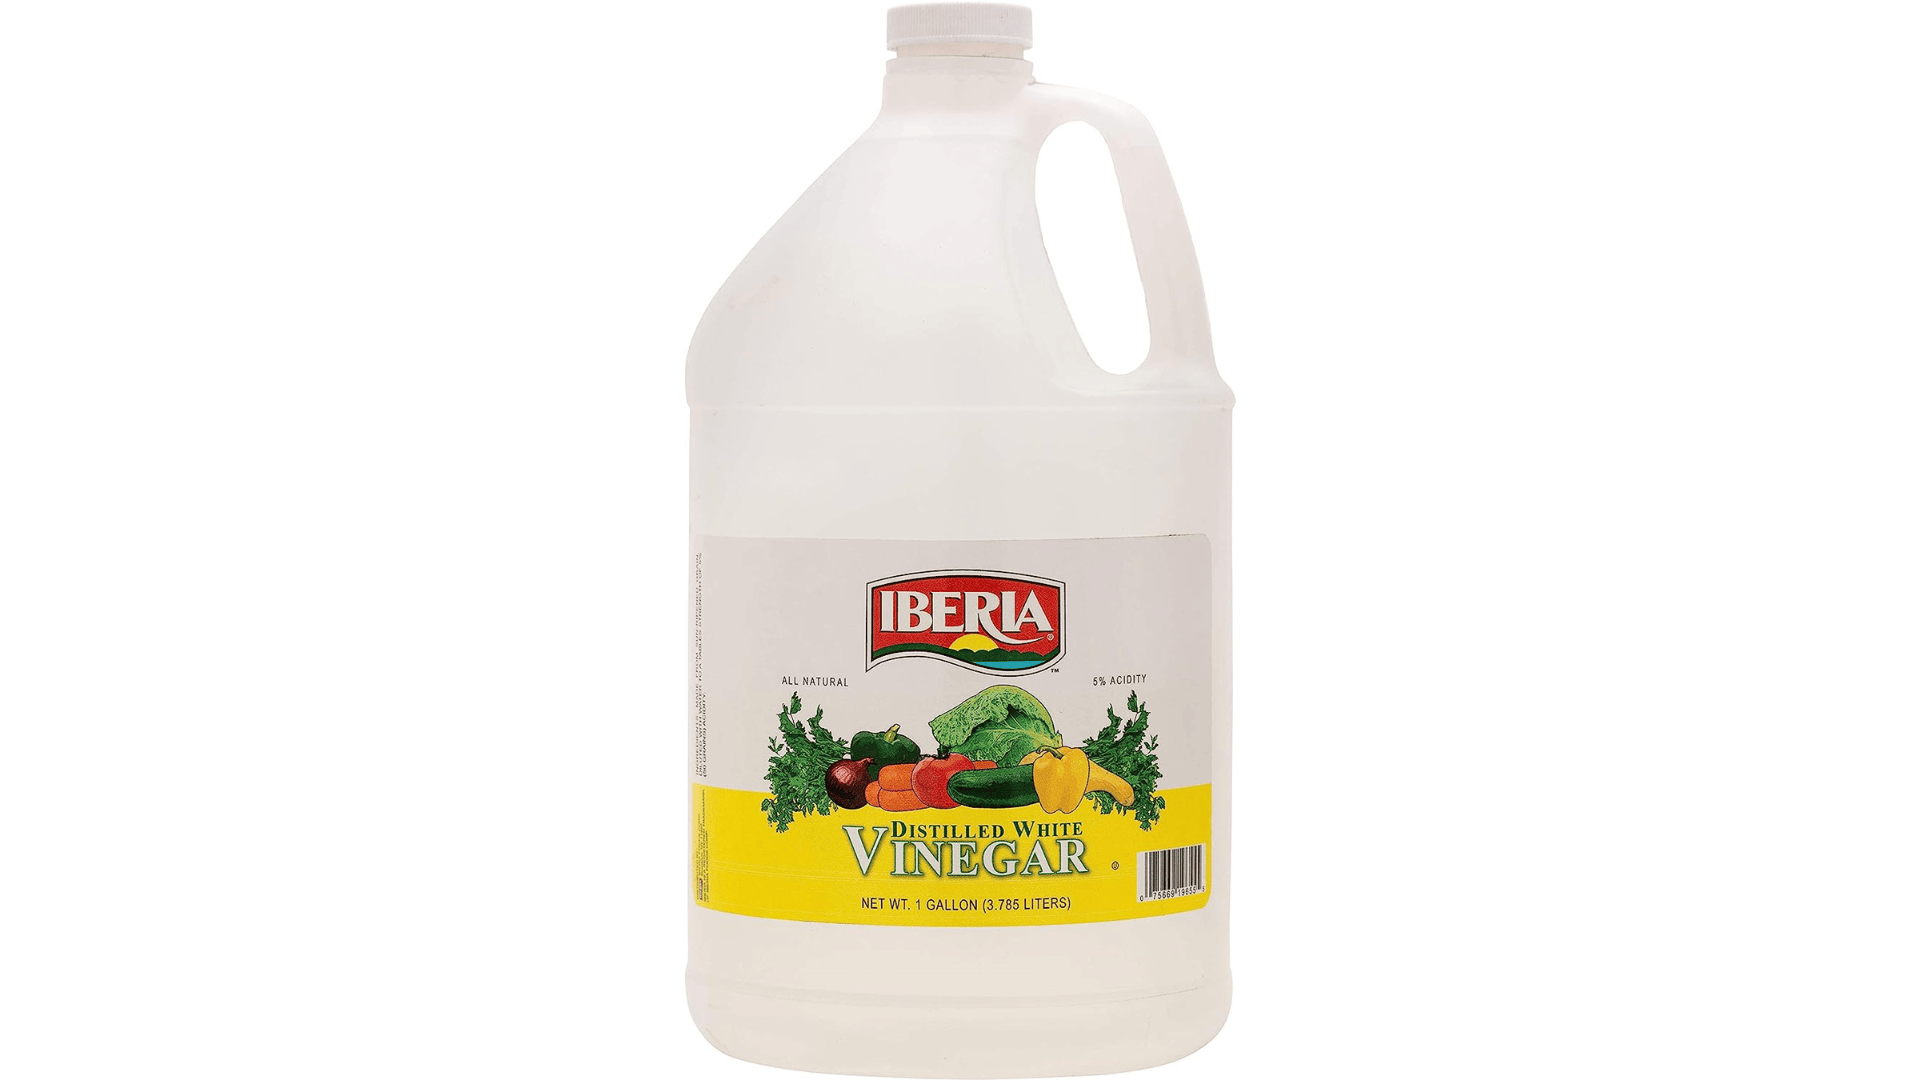
And on the off chance that you don't have some vinegar lying around, you can buy some on Amazon below.
Related Guides: Why your Keurig Says Descale and Keurig Descale Light Won’t Turn Off
How To Descale Keurig K Duo in 10 Steps (With Pictures)
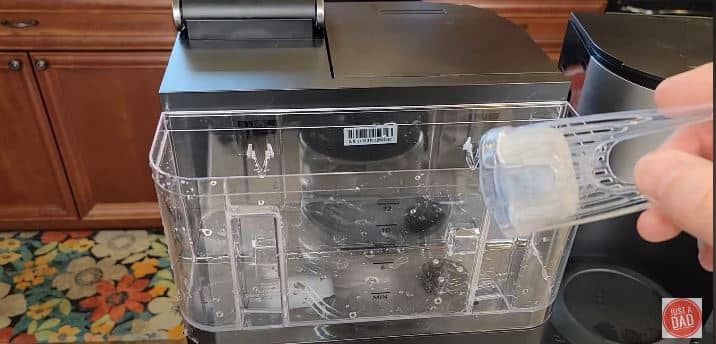
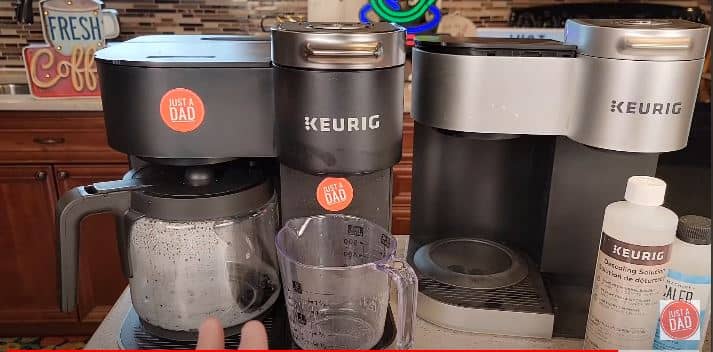
1. Make Sure the Machine is Empty
Start by opening the K-cup holder and making sure there are no stray K-cups in the machine. If there are, remove them. Next, go over to the filter side and ensure the basket is installed but empty.

CC: Just a Dad Videos via YouTube
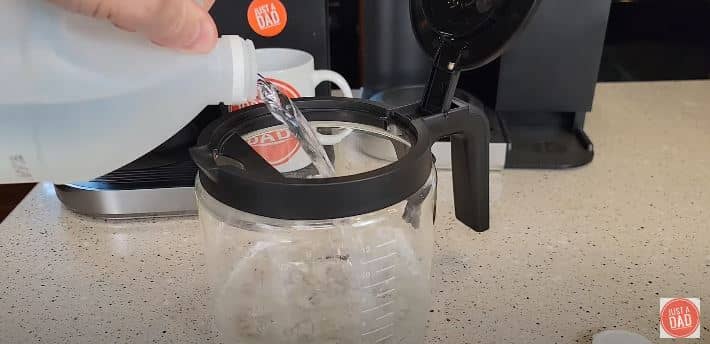
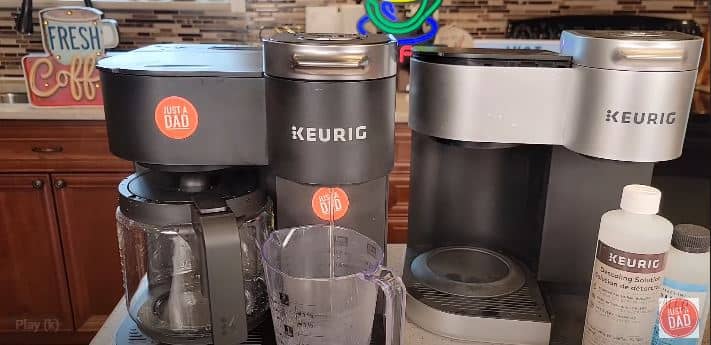
2. Measure Your Descaling Solution With the Carafe
The carafe of this Keurig (the big pot) makes an excellent measuring device. You want to fill it up to the 6 cup line with your vinegar. Then, add water to get to the 12 mark to give you a 50/50 mix of vinegar and water to descale your machine.
If you want to use the descaler instead, you can add one or two 14-ounce bottles of descaler to your carafe. You won’t need to add water to dilute it like you would vinegar.
CC: Just a Dad Videos via YouTube
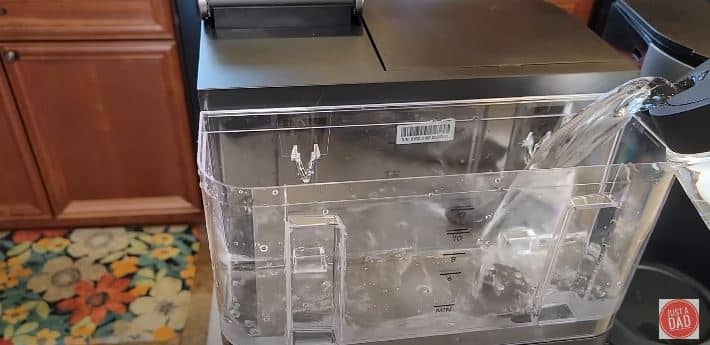
3. Prepare the Water Tank
If you have a water filter installed, you want to remove it, especially if you’re using vinegar to descale it. You don’t want a lingering taste to stick around and get into your coffee. At this point, the tank should be empty as this is where you pour your vinegar and water or descaler solution.
CC: Just a Dad Videos via YouTube
4. Fill Water Tank With Your Descaling Solution
Carefully pour the descaling solution into the empty water reservoir or tank. When you finish, you should be below the max fill line, and this is okay if it’s not right up there. This will be enough descaling solution to clean your Keurig.
CC: Just a Dad Videos via YouTube
5. Run the Solution on the K-Cup Side
For this first round, we’re going to run the descaler on the K-cup side.
So, to do that, set your measuring cup under where the water comes out on the K-cup side. Click the K-cup button and then pick eight ounces. You should hear the solution start to run. You will get the smell of vinegar at this point if you chose to use it.
CC: Just a Dad Videos via YouTube
6. Run the Solution on the Carafe Side
Once your eight-ounce solution mix runs through the K-cup side, it’s time to run it through the carafe side to descale it. Click the carafe button and click to run eight cups through. Press the K button to start the cycle.
You want to pick 8 cups and not 12 for this step so you don’t run your reservoir dry.

CC: Just a Dad Videos via YouTube
7. Let it Soak for 30 Minutes
Once the solution runs through the carafe, you’re going to allow it to sit and soak for 30 minutes. This will help ensure that it removes the buildup or loosens it so you can rinse it through.
At this time, you can switch the warming plate off too. It doesn’t need to stay on for the full 30 minutes you allow the solution to sit in the carafe.

CC: Just a Dad Videos via YouTube
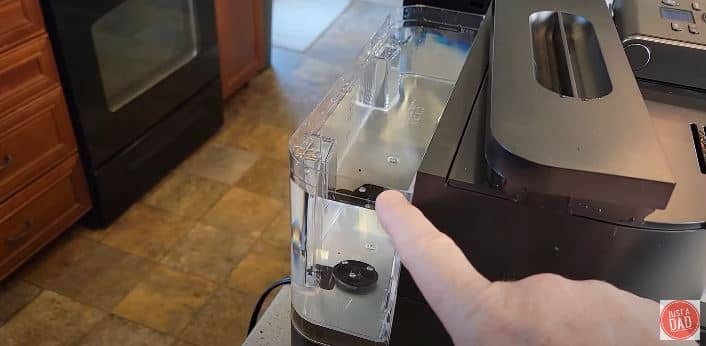
8. Rinse and Fill the Tank With Water
After the 30 minute soaking period, it’s time for you to get rid of the water in the carafe and anything left in the reservoir.
Thoroughly rinse out the tank or reservoir and refill it to the max fill line with cool, clean water.
CC: Just a Dad Videos via YouTube
9. Rinse the K-Cup Side
You want to thoroughly rinse both sides of the machine, especially if you used vinegar as it can take three to four rinses to get rid of any lingering smell or taste.
If you used the descaling solution, you still want to rinse it at least once or twice to ensure it’s clean.
Pick the K-cup, click 8-ounces, and put the measuring cup down to catch the water. Let it run a rinse cycle.You’ll repeat this process two more times before moving to the carafe.

CC: Just a Dad Videos via YouTube
10. Rinse the Carafe Side
Double-check your reservoir and make sure it’s full (you’ll most likely have to refill it) before you run your first rinse cycle. Select a 10-cup setting and allow the water to run through the carafe. Once it finishes, repeat the process two more times, ensuring you don’t allow the reservoir to run dry.
Repeat this whole process every two or three months.
CC: Just a Dad Videos via YouTube
Related Guides:
How to Descale a K Slim With Vinegar
How to Descale a K Supreme With Vinegar and Descaling Solution
Why Descaling is Important
Descaling is a crucial maintenance step for any coffee machine, including the Keurig K-Duo, primarily because it removes mineral buildup inside the machine. This buildup mainly consists of calcium, which is commonly found in hard water.
Here's why descaling is so important:
- Prevents Clogging and Mechanical Issues: Over time, the calcium and minerals in water can accumulate in your coffee machine's internal components. This buildup can lead to clogging and even mechanical failures, as the mineral deposits can interfere with the normal operation of the machine.
- Maintains Coffee Quality: Mineral buildup can also affect the taste and quality of your coffee. It can alter the temperature and pressure of the water during brewing, which are crucial factors in extracting the best flavor from your coffee beans.
- Ensures Consistent Performance: Regular descaling ensures that your coffee machine operates efficiently. It helps maintain the optimal brewing temperature and water flow, which are essential for consistently good coffee.
- Prolongs Machine Life: By regularly removing mineral deposits, descaling can prolong the lifespan of your coffee machine. It prevents wear and tear on its internal components, saving you money on potential repairs or replacements in the long run.
How Often to Descale Keurig Duo

If you use your Keurig Duo more or if you’re like me and live in a region with hard water, you’ll want to descale your machine more. For the Keurig K-Duo, it's recommended to descale every 3 to 6 months.
However, if you use it frequently or have hard water, descaling more often, such as every 2 to 3 months, is advisable to prevent mineral buildup and maintain optimal performance.
Learn more about water hardness here.
Using Keurig Rinse Pods
Ever run a cup of water through your Keurig and find it comes out brown instead of clear?
Keurig rinse pods are a cleaning product designed specifically for Keurig coffee machines. They are a quicker and easier way thank descaling to to remove residual coffee oils and grounds from the brew chamber, ensuring a fresher taste for your next cup of coffee.
You'll still need to descale every few months, but rinse pods can keep the machine cleaner longer.
To use them, simply insert a rinse pod into your Keurig as you would a regular coffee pod and run a brewing cycle. The pod releases a cleaning agent that cleans the brew chamber. After the cycle is complete, remove the rinse pod and run at least one water-only brew cycle to rinse out any remaining cleaning solution. This process helps maintain the cleanliness of your machine between more thorough descaling treatments.
This article was written by Sara. You can learn more about Sara on our About the Team page.