If you're a fan of quick and tasty coffee, your Keurig K Slim is probably your go-to buddy every morning. But just like any good friend, sometimes it needs a little help to be at its best. The secret to a great cup of coffee isn't just the beans; it's also in how well we take care of our machines.
Today we'll cover – with pictures – how to clean the needle on your Keurig K Slim. Let's get started!
Related: How to Descale a Keurig K Slim With Vinegar (Pictures)
How to Clean the Needle on a Keurig K Slim
Step 1 – Troubleshoot
If you go to make a cup of coffee, push the button, and it doesn’t brew, more often than not, the needle is clogged and needs a thorough cleaning to get you back in business.
- Tip – Before you go through the trouble of cleaning the needle, double-check that you have water in the reservoir. Sometimes we simply forget to refill the water and our machine won't brew because of it.
Part of routine maintenance isn't just needle cleaning, but also descaling. Learn how to descale your K Slim with vinegar in our guide here.
Step 2 – Get Set Up
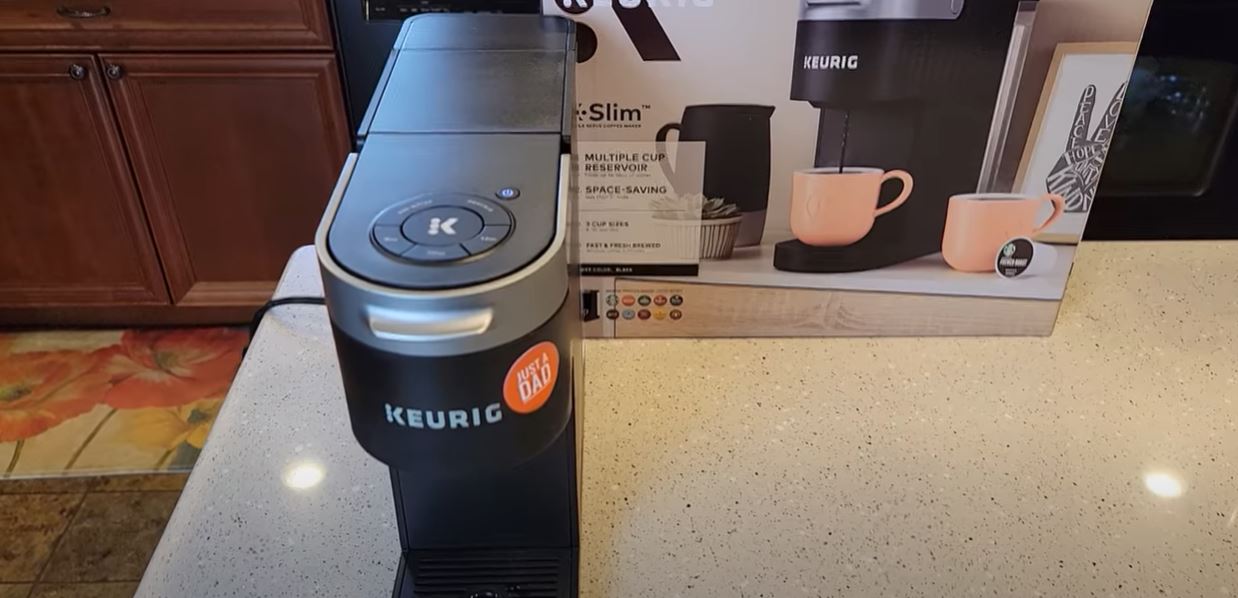
The first thing you want to do is get set up and ready to clean the needle on your Keurig K Slim. To do so, put your machine on a clean, dry, level surface so you have room to work without fear of dropping anything or knocking anything over.
Step 3 – Power Off Your Keurig and Unplug It
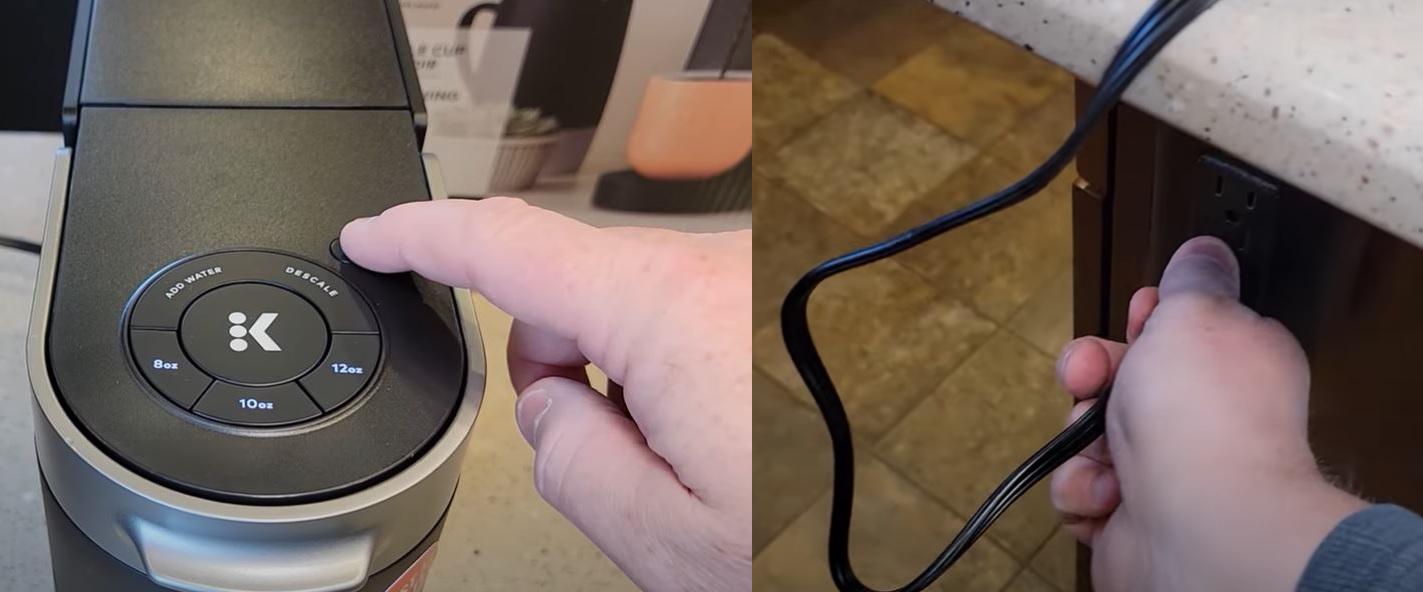
You don’t want to work on your Keurig with it on because this increases your risks of a shock. So, power off the machine first by pressing the power button and then unplug it from the power source.
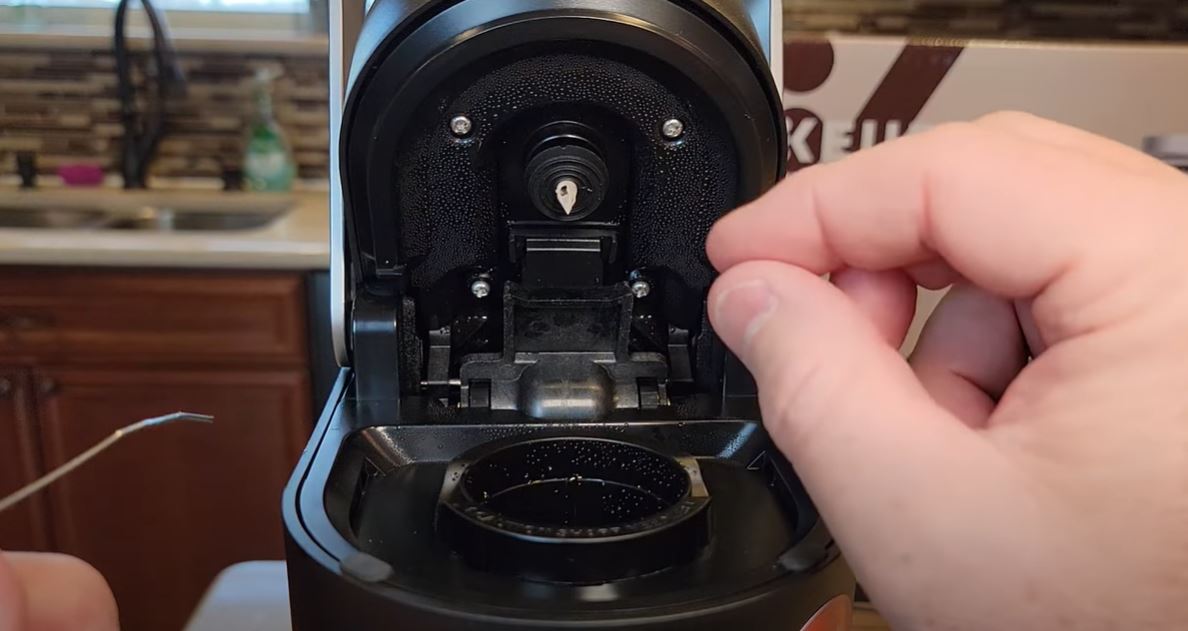
Step 4 – Locate the Needle
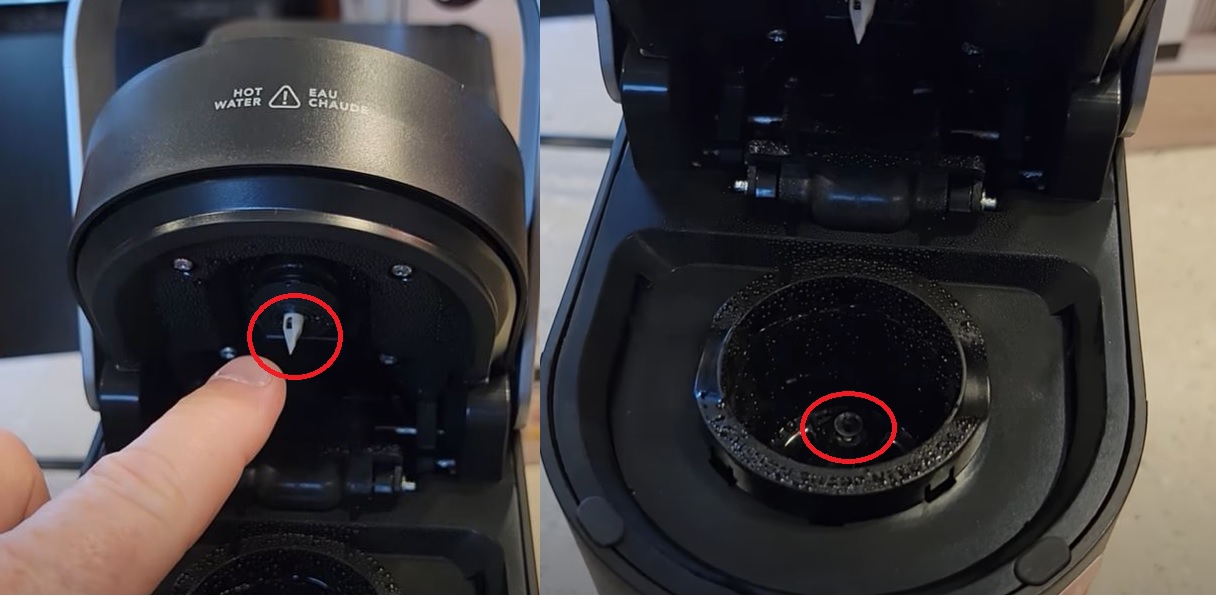
Open your Keurig K Slim by lifting up the handle, like you would when you want to insert a pod into the basket to make a cup of coffee. The needle will be on the top of the interior portion of the lid. There is also a second needle at the bottom of the basket where the base of your K-cup pod sits. If it’s hot because you just tried to brew a cup, allow it to cool.
Step 5 – Get Paper Clips to Help Unclog the Needle

Get a paper clip or two and unbend them so they’re relatively straight. This will give you something to gently feed up into the needle to feel for and help remove any clogs. Make sure the paper clip is a metal one and not one with a plastic coating because you don’t want to get plastic stuck in the needle too.
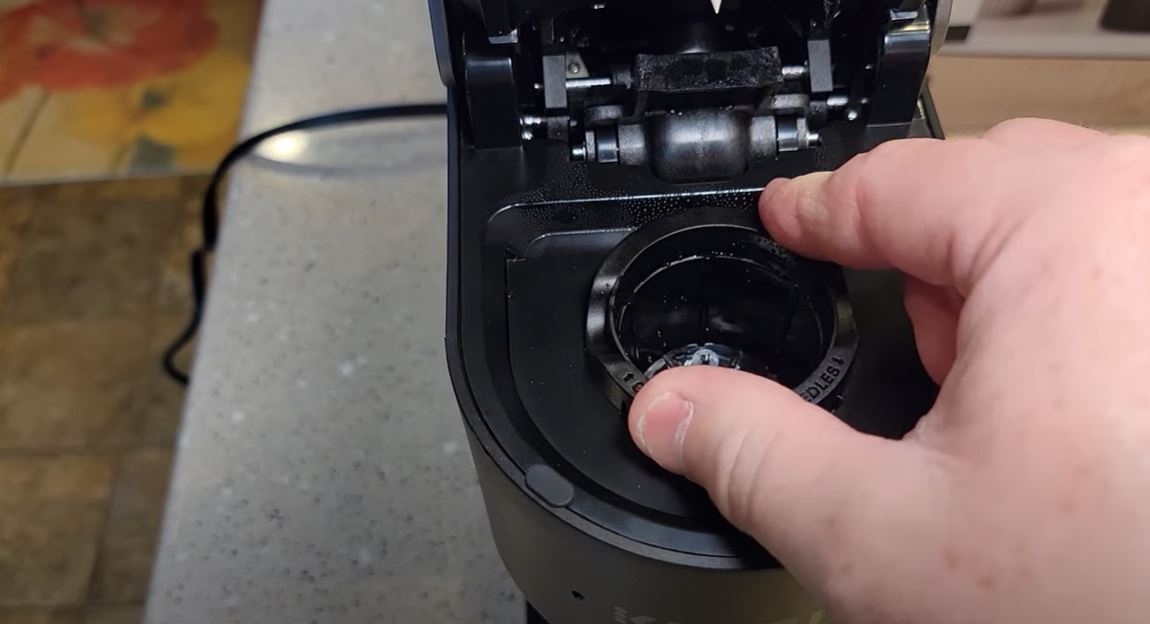
Step 6 – Remove the Basket
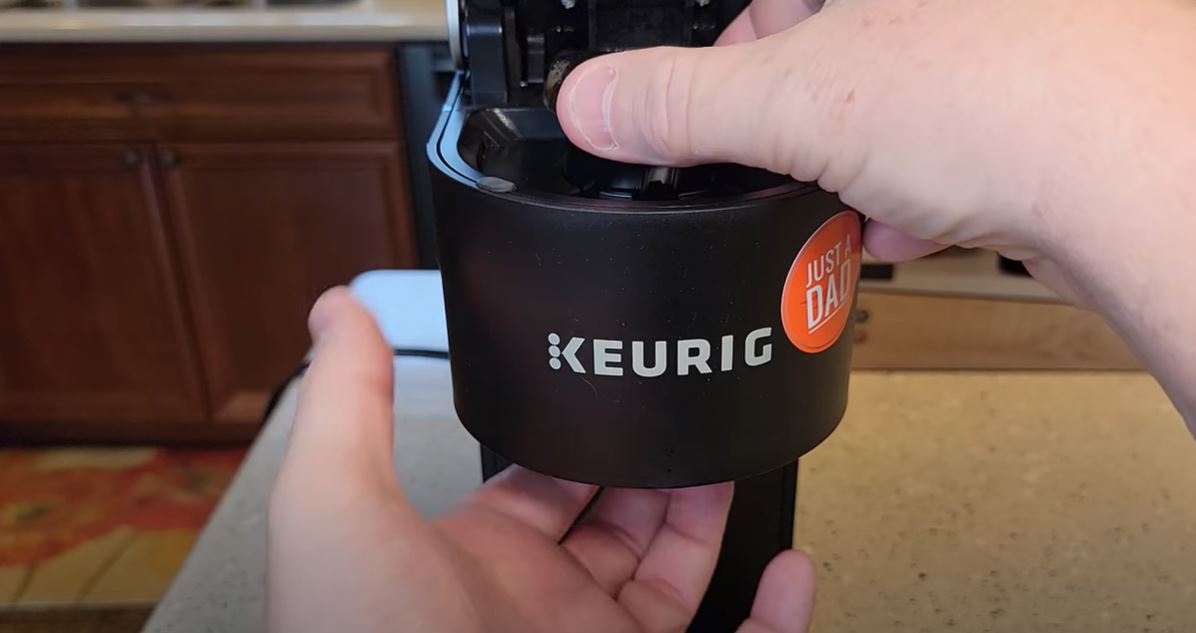
Once you get the paper clip, you’re going to gently clean the bottom needle first. However, we want to go in through the bottom after we remove the basket instead of the top because the needle poking down from the top is very exposed and very sharp. You don’t want to accidentally poke yourself during cleaning. With the top open, take your thumb and pointer finger and gently pinch the top of the basket. At the same time, push up from the bottom using your other hand. This will pop the basket out.
Step 7 – Twist the Needle Basket Apart
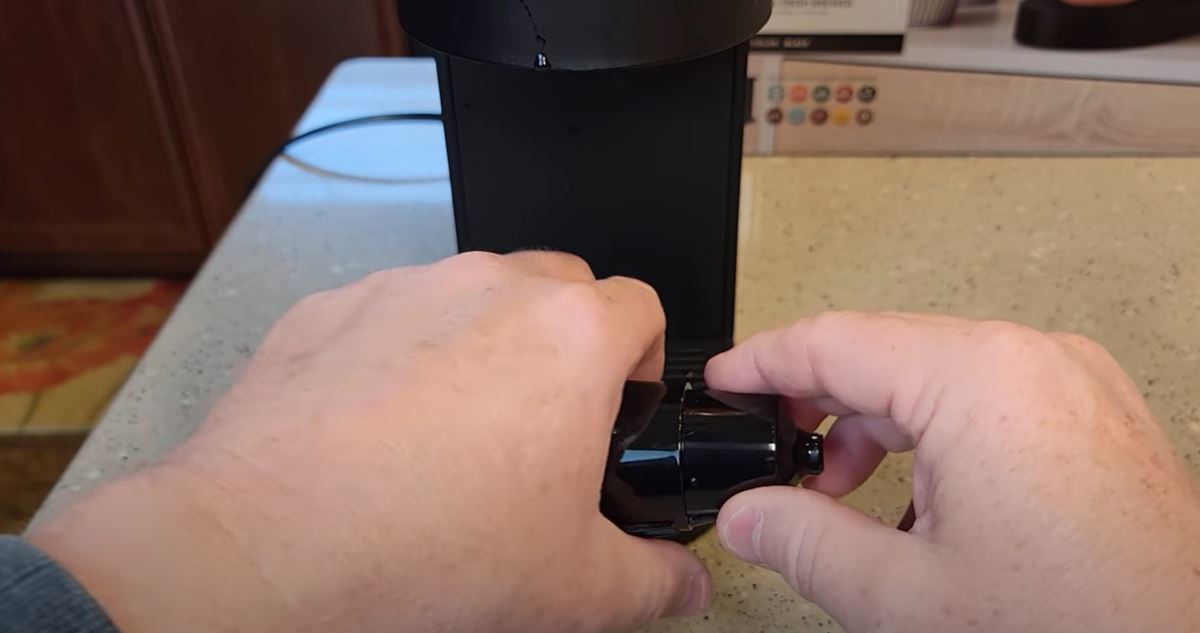
When you get the needle basket out of the Keurig K Slim, you’ll notice a seam. Gently twist the basket apart, turning each end in the opposite direction. The basket should twist right apart with little resistance. This will give you access to the needle mechanism.
Step 8 – Insert the Paper Clip
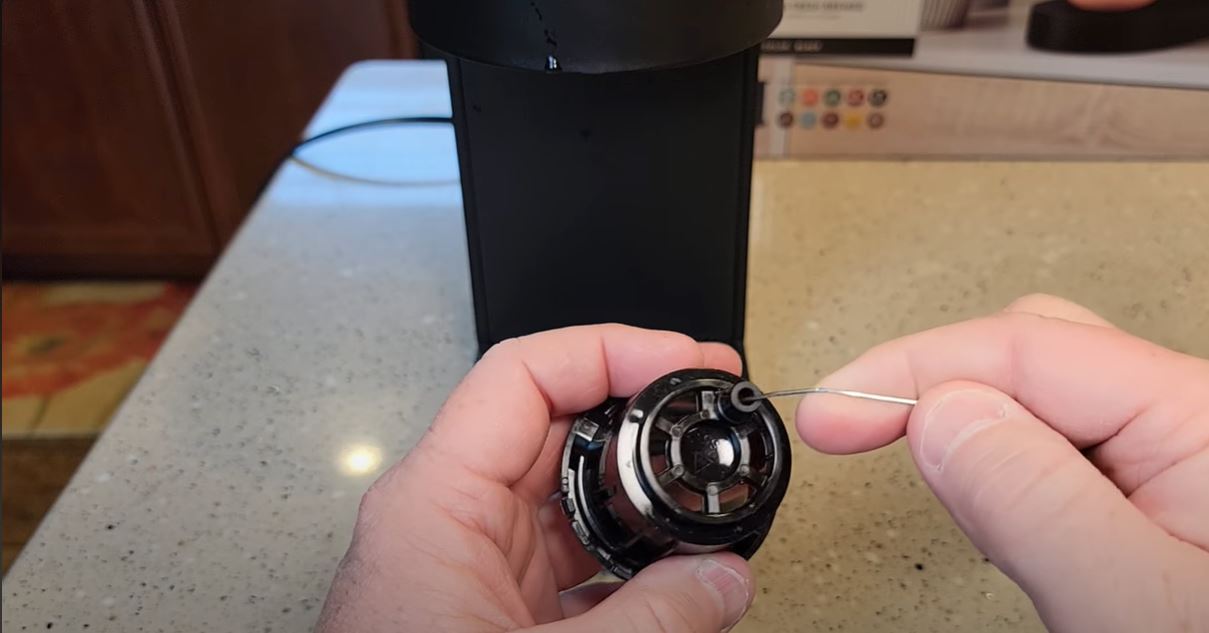
Take your bent paper clip and gently insert it into the bottom of the basket where the needle is. There isn’t anything sharp that can poke you here. Once you poke it in, gently wiggle it around and see if you feel any clogs.
Step 9 – Check for Clogs

Go over to the sink with your basket and paper clip. Gently insert the needle as far up as it’ll go. You should be able to flip the bottom half of the basket over and see the end of the paper clip poking up into the opening. Run a bunch of water through the opening while you poke around with the paper clip to ensure you get everything out. Make sure you run water through both ways to get any coffee grounds unstuck and flushed out.
Step 10 – Wash the Other Part of the Basket
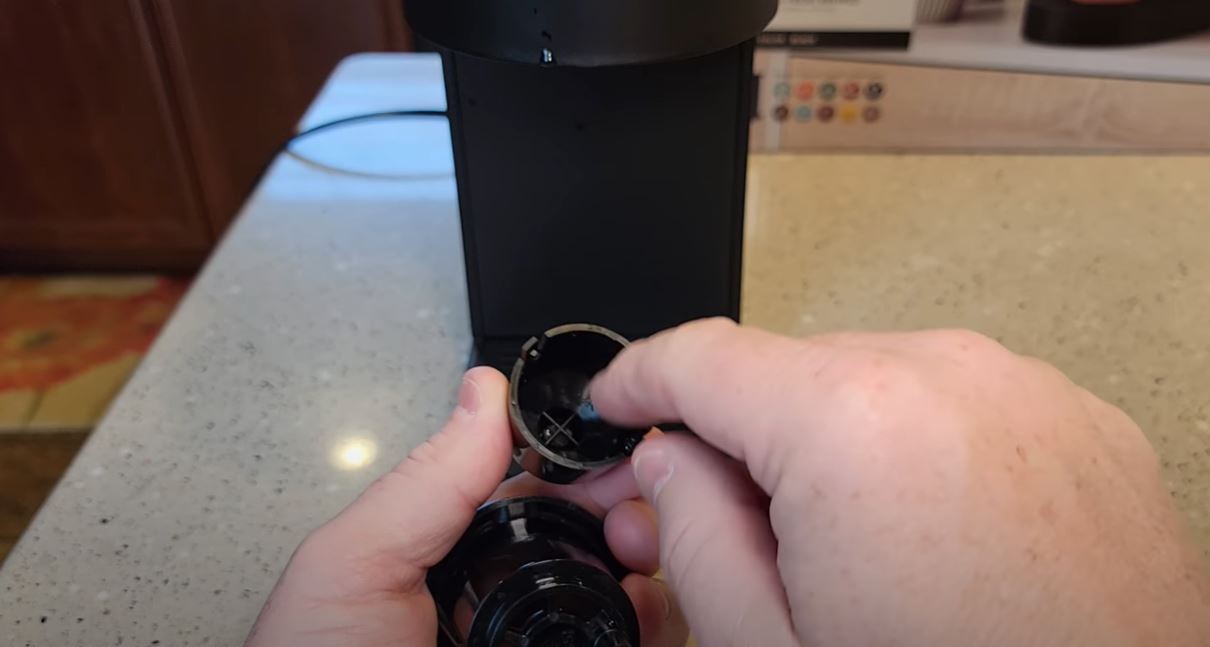
When you’re sure you have all the built-up gunk out, take a brush and gently scrub at the upper half of the K-cup basket. Make sure you get into all of the small crevices and crannies to remove coffee grounds, sticky substances, or anything that could cause a clog.
Step 11 – Reassemble the K-Cup Basket

You’ll notice that there are two little ears on half of the basket, and the other half has matching holes. Line these pieces up and snap the basket back together. If it’s on correctly, it shouldn’t turn or rotate.
Step 12 – Put the Basket Back Into the Keurig

Turn the basket so the “Caution: Sharp Needles” is on the bottom, facing you, and the needle will be on the top. Also, if you look into the basket area on your Keurig K Slim, you’ll notice spaces for the small plastic tabs on the basket. If you have it in the correct orientation, it should snap right back into place.
Step 13 – Snap the Basket Into Place
Once you set the basket into the Keurig and rotate it so it fits into the slots, give it a light push. You should hear an audible snap as it locks into place. It should be nice, flush and even if you have it in correctly.
Step 14 – Check That the Basket is in Place
If you look at the basket and it looks like it’s in correctly, check it. Carefully close the lid on your Keurig. If it closes without any resistance, the basket is successfully reinstalled with the clean bottom needle. If you meet resistance, open the lid and try to insert the basket again until you hear a click. This is very important because you can accidentally snap the handle if the basket isn’t in place.
Step 15 – Clean the Top Needle Side to Side
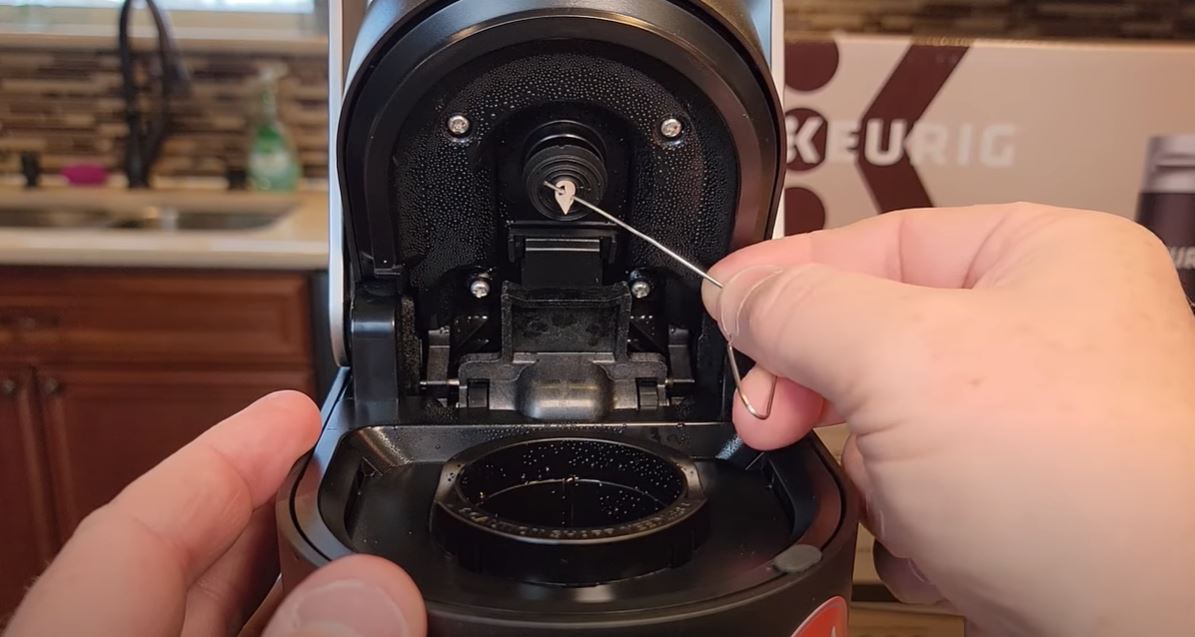
The top needle is very sharp, and it has three openings you can clean. However, be aware that the needle does attach to a thin water tube, so if you poke too hard, you can easily poke a hole into the tube. If you do, water will run all over and you’ll have a mess on your hands, so be very light-handed with this part. Start by cleaning side to side and then
Step 16 – Clean the Top Needle Back to Front
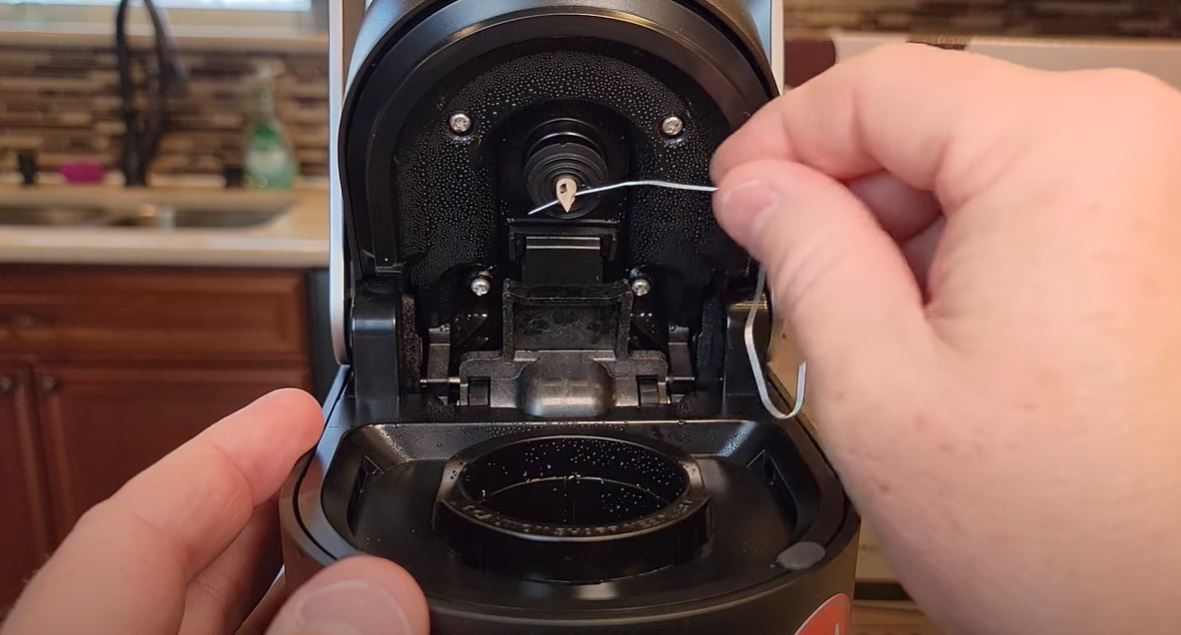
Once you’re satisfied you have all the gunk out going side to side, switch, and clean the openings in the back and front. Carefully insert the paper clip and move it around to scrape anything stuck off. Work around until you can’t feel anything.
Step 17 – Run a Hot Water Rinse
If you’re not sure you got everything, take a short break and run a water rinse through your machine. The hot water should help dislodge anything stuck that you may have missed or that was too far up there for you to safely poke at without piercing the tubing. Remember, each time you do a water rinse, give it a few minutes to cool off before you touch anything because it’ll be hot.
Step 18 – Clean Up Into the Needle and Tubing

We can’t stress enough, be very, VERY careful with this part of the cleaning process. Gently insert the paper clip and go up into the needle, making sure you don’t force it up there to pierce the plastic tubing. This is most likely where the main clog is in the system, so slowly work at it. Make a point to go up each needle hole and see if you feel anything.
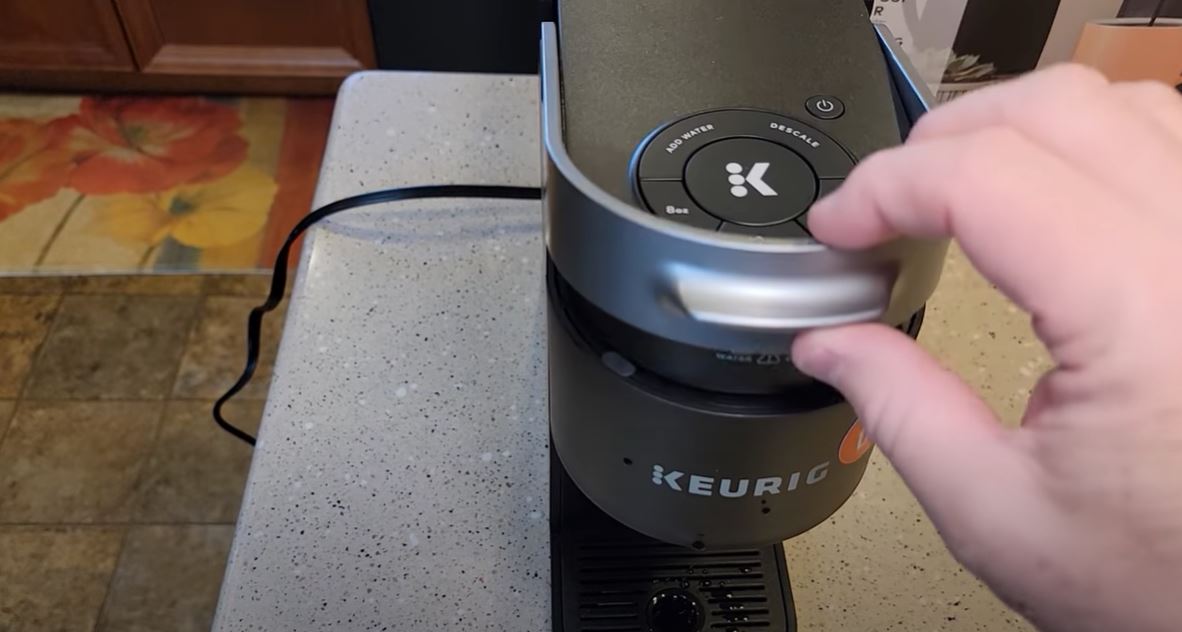
Step 19 – Run a Second Hot Water Rinse
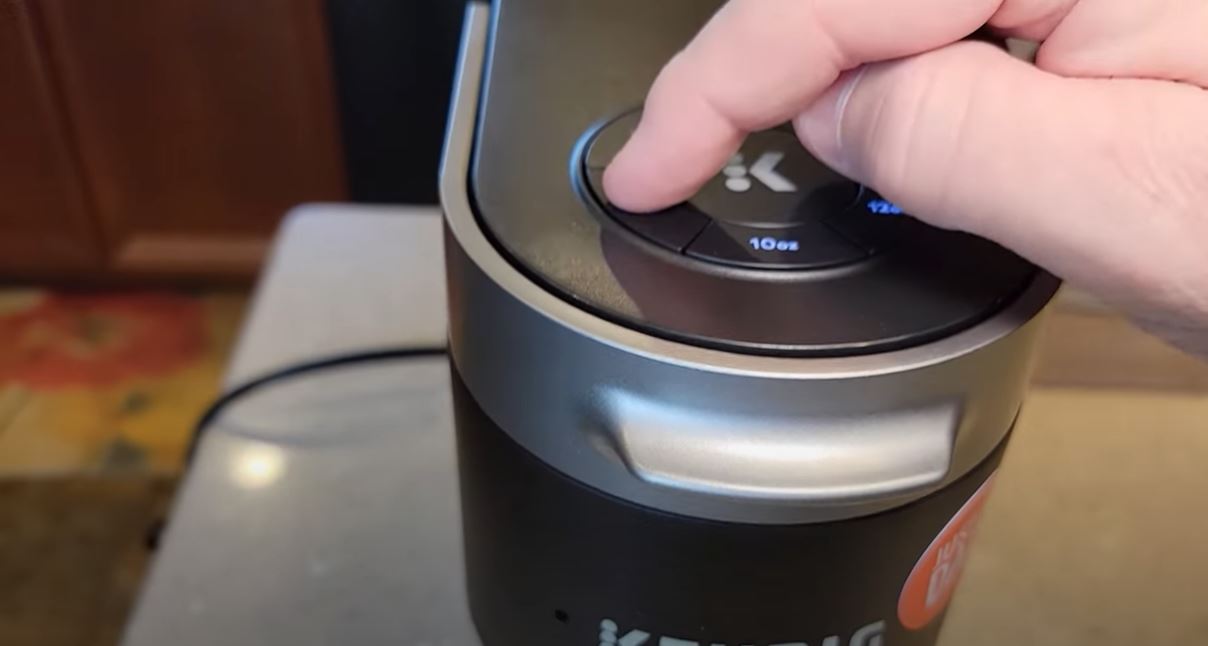
Plug the Keurig K Slim back in, close the lid, and run a hot water rinse without a K-cup in the basket. To run a fresh water rinse, press the 8-ounce button and then the K button, while making sure you have water in your reservoir.
Step 20 – Look for Water Flow
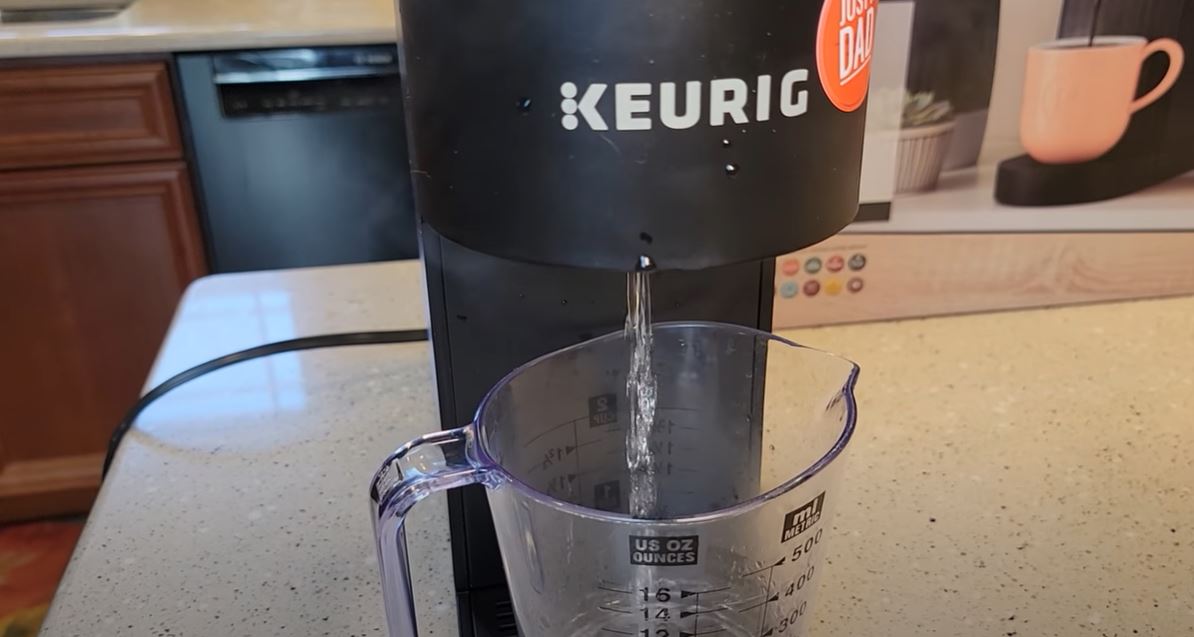
Put something in place to catch the water from the rinse. This can be a mug or a glass measuring cup, anything works as long as it’s big enough. You may see a bunch of old coffee grounds and gunk coming out with the water, and this is totally normal. You want to see two streams of water because this means that water is successfully running through both of the needles.
Step 21 – Repeat the Cleaning Process As Needed
You may want to repeat the cleaning process one more time to ensure you got everything. Power off your Keurig, unplug it, and open the basket. Allow it to cool for a few minutes before getting your bent paper clip and gently scraping at the upper needle again. Keep repeating this process until you get water coming out during the rinse process. Depending on how long it’s been since you last cleaned it, this could take several cycles.
If you do all of this and it doesn’t work, it’s a good idea to contact Keurig and ask what they suggest. They may have you send it back for them to fix or replace so you can enjoy your morning kick of caffeine whenever you like.
We also recommend you check our other troubleshooting guides, including why your Keurig says descale, how to remove coffee grounds from your cup, and whether Keurig will replace broken machines if you can’t fix yours.
This article was written by Sara. You can learn more about Sara on our About the Team page.