
If your Keurig K Slim is starting to act up, it might be overdue for a descaling. It’s a simple process that helps remove mineral buildup and ensures your machine keeps running smoothly. The good news is that you can use plain white vinegar, which is something almost everyone has in their cleaning cabinet.
Let’s walk through the steps to get your Keurig brewing happily again.
In This Article
- Why Descale Your Keurig K Slim With Vinegar
- What is the Descale Light
- How to Descale a Keurig K Slim With Vinegar (Step by Step W/ Photos)
Related: How to Clean the Needle on a Keurig K Slim (With Pictures)
Why Descale Your Keurig K Slim With Vinegar
Why descale your Keurig Slim with vinegar over other cleaning products like official descaling solutions?
- Cost-Effective – Vinegar is a natural descaling agent and is significantly cheaper than many specialized descaling solutions. It's non-toxic and widely available. You probably already have it in your kitchen.
- Eco-Friendly – Using vinegar is a more environmentally friendly alternative to many cleaning products. It's biodegradable and less harmful to the environment once it goes down the drain.
What is the Descale Light?
The descale light on your Keurig K Slim is a built-in reminder that it’s time to clean out the mineral deposits that naturally accumulate inside your coffee maker. This little light is pretty smart; it's programmed to track the number of brew cycles your machine has gone through, and it factors in the time since the last descaling. When it lights up, it’s signaling that enough time has passed that the mineral build-up has reached a level where it could start affecting the performance and taste of your brews.
It’s important not to ignore this light (which I myself am guilty of). While it might seem like just another task to add to your to-do list, keeping up with descaling can greatly extend the lifespan and efficiency of your Keurig. Plus, it ensures that your coffee always tastes fresh and is brewed at the correct temperature. If the descale light comes on, take it as a friendly nudge to give your Keurig the TLC it needs to keep on delivering those much-needed cups of coffee.
We've written a more detailed guide: Why Does My Keurig Say Descale if you're interested.
How to Descale a Keurig K Slim With Vinegar
Luckily, descaling your Keurig K-Slim with vinegar is a relatively straightforward process that shouldn’t take more than 45 minutes to an hour from start to finish. We'll walk through the steps below with some helpful pictures courtesy of Just a Dad's youtube channel.
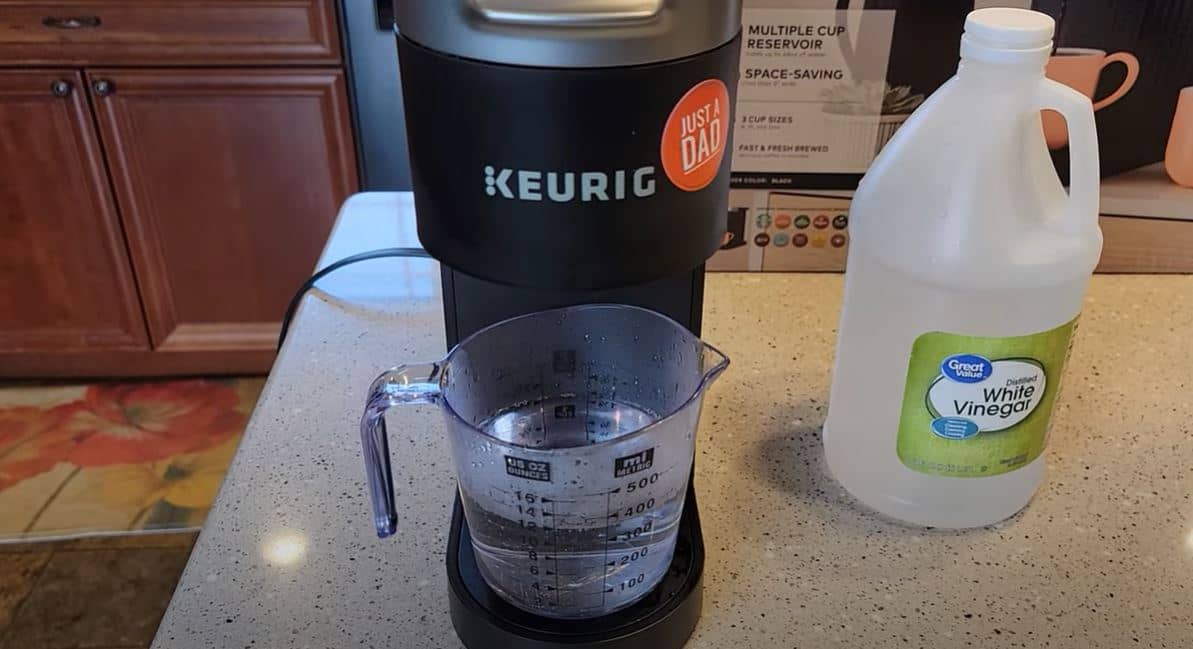
1. Gather Your Ingredients and Tools
Get everything ready before you start the descale process so you’re not running around like mad halfway through trying to find the vinegar or something else. You’ll want to get your Keurig, vinegar, and something to catch the water when the cycle finishes (cup, mug, bowl).
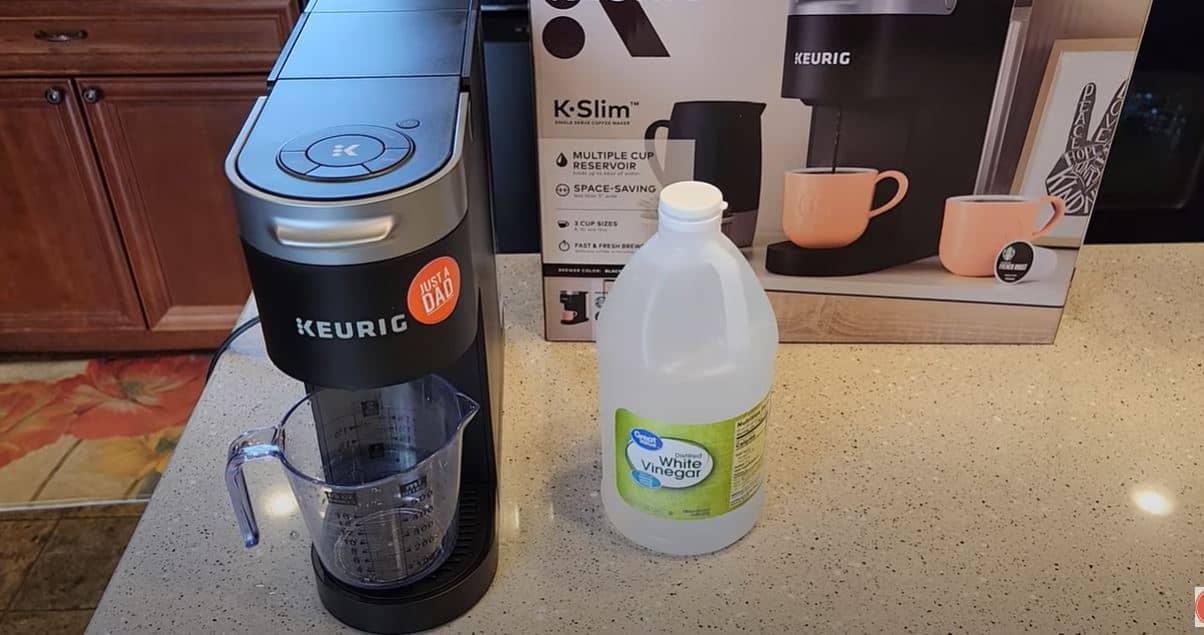
CC: Just A Dad Videos via YouTube
2. Take a Look at the Instructions
Keurig does give you a short instruction booklet on how to descale the machine, but it’s not very clear. There are clearer instructions on the website which you can see below. Give them a quick run-through so you get a feel for what you’ll be doing.
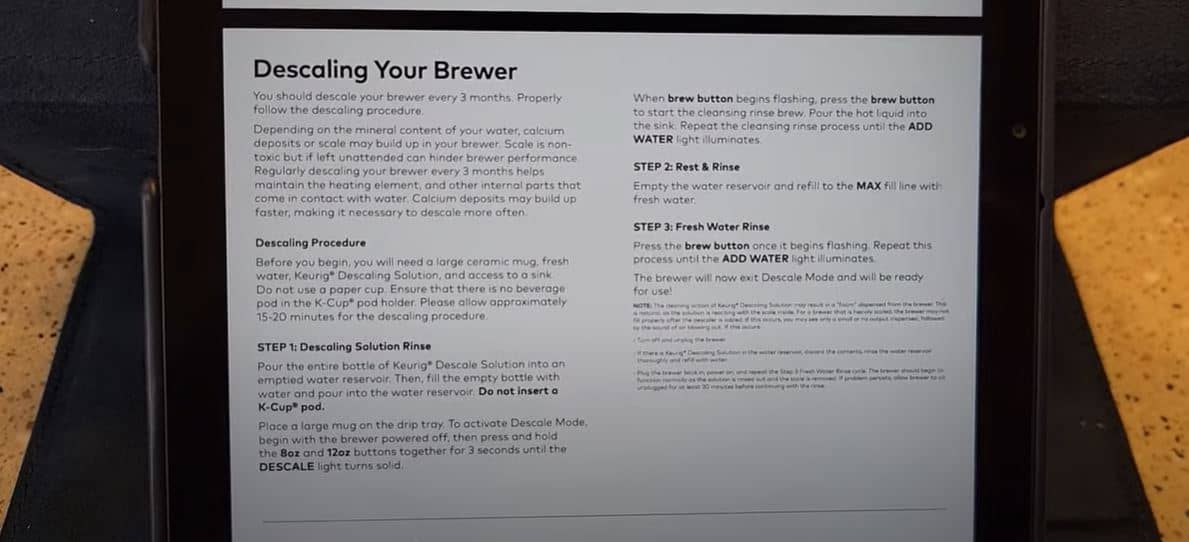
CC: Just A Dad Videos via YouTube
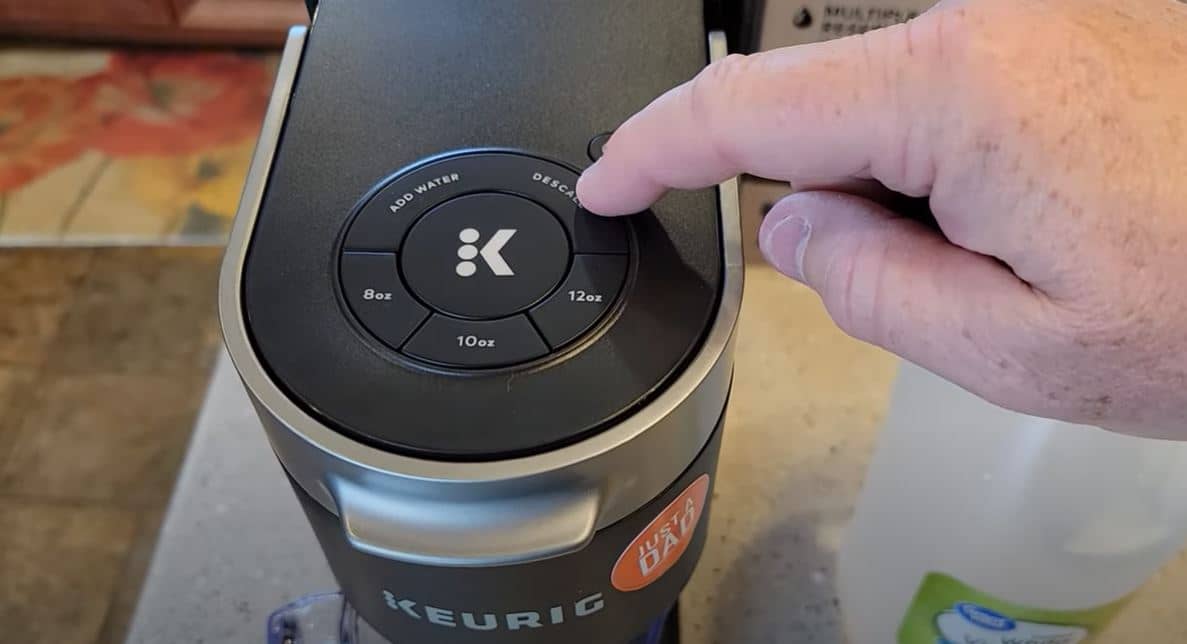
3. Check for the Descale Light
First, is your Keruig’s descale light on? If it is, it’s a sign that you need to clean your machine. Remember, you can brew with this light on, but the machine is warning you that you won’t be getting the best cup possible. Ideally, you’ll descale your Keurig once every three to six months. The exact timing will depend on how hard your water is and how much you use the machine.
CC: Just A Dad Videos via YouTube
4. Check for K-Cups
Before you start the descaling process, pop open the pod holder and make sure it’s empty. Leave the basket in it, but remove any K-cups if there is one inside.
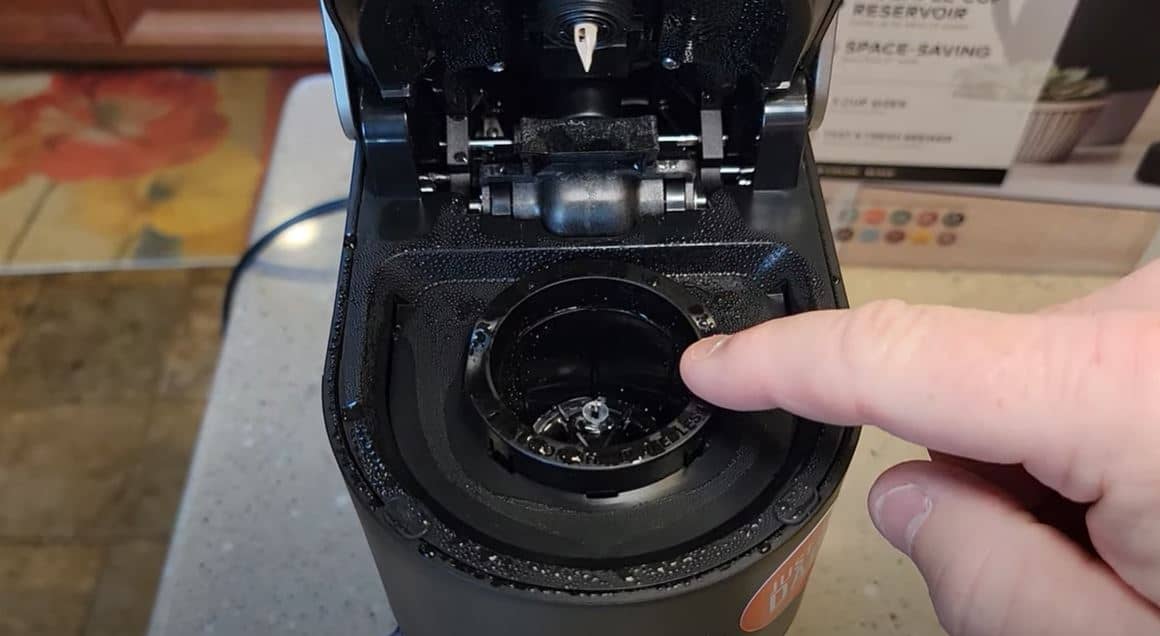
CC: Just A Dad Videos via YouTube
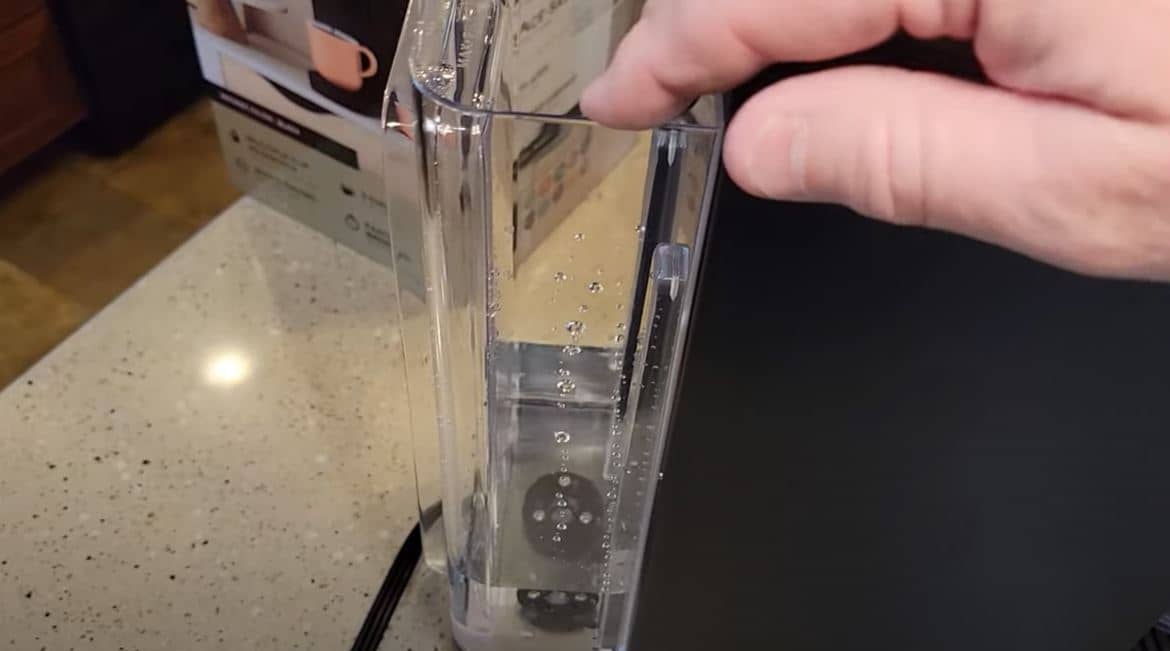
5. Empty the Reservoir
Check your machine and see if there is any water in the reservoir. If there is, you want to dump it out so you start with an empty reservoir. If you added an optional carbon filter system to your Keurig, remove it during this step and leave it out until you finish descaling.
CC: Just A Dad Videos via YouTube
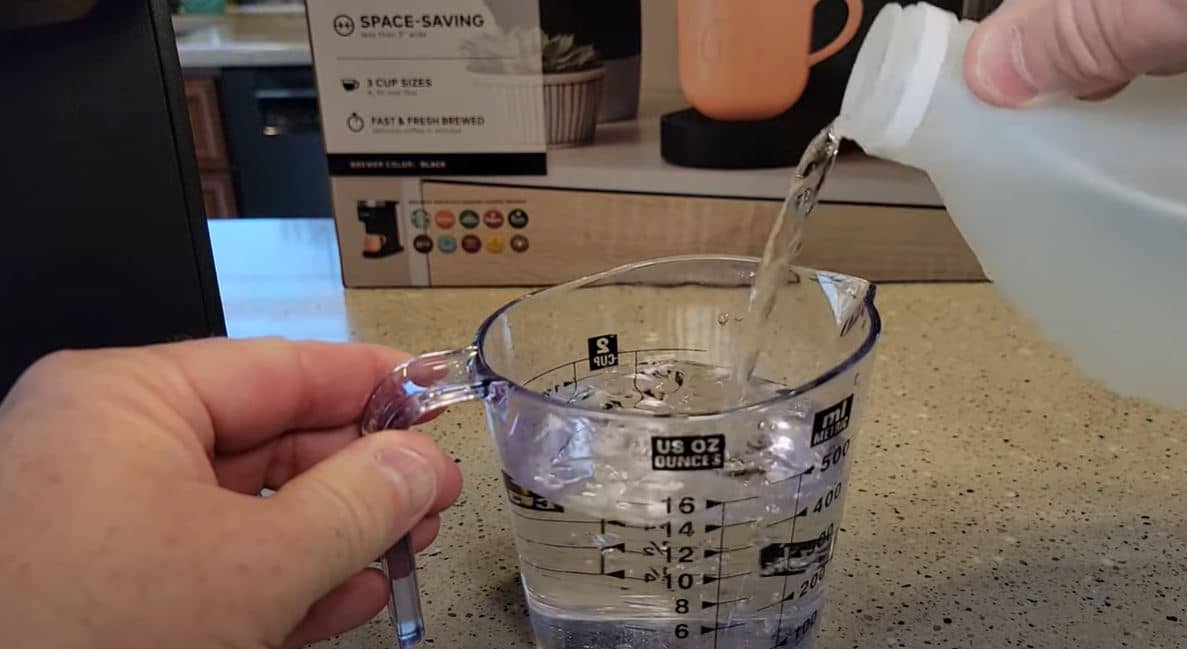
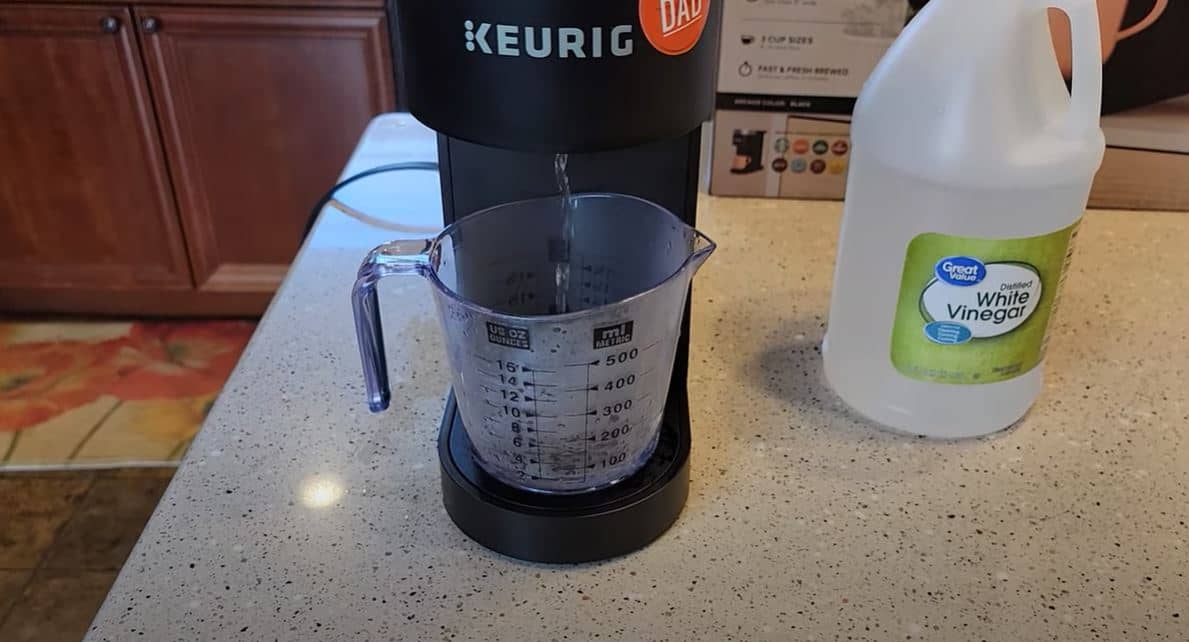
6. Pour 14 Ounces of Vinegar
Get your measuring cup and pour in 14 ounces of vinegar. This works out to roughly two cups.
CC: Just A Dad Videos via YouTube
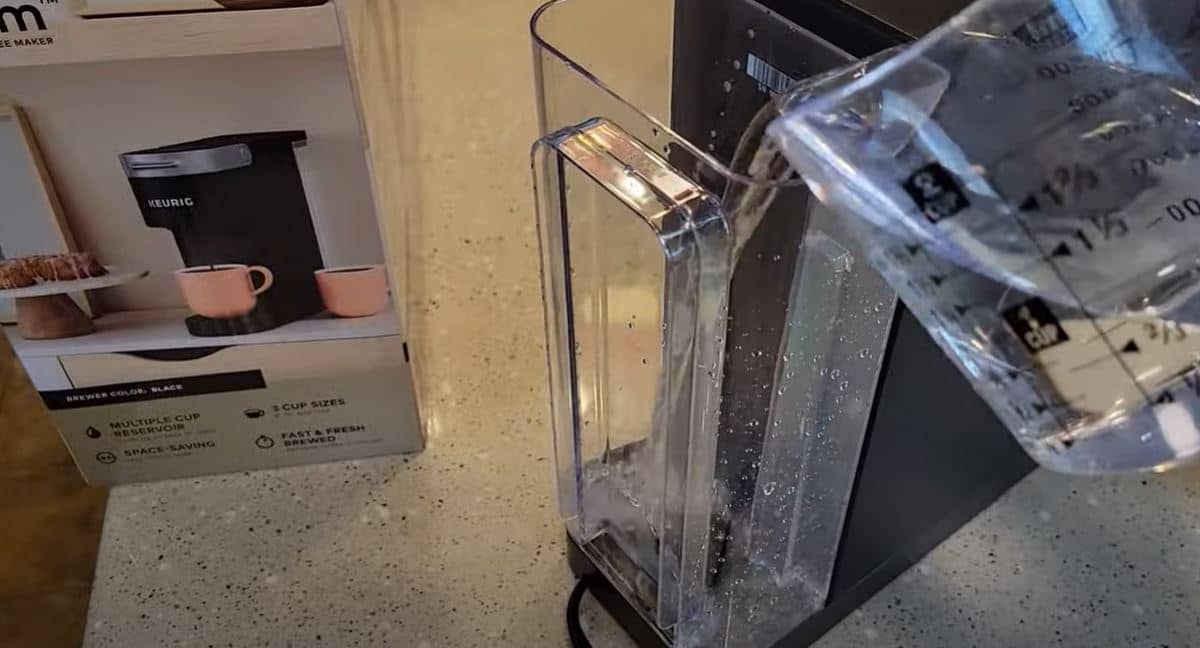
7. Add the Vinegar and Water to the Reservoir
Take your vinegar and carefully pour it into your reattached, empty water reservoir. Once it’s in, add 14 ounces (2 cups) of fresh water into the reservoir with the vinegar. This will create a 1:1 ratio of fresh water and vinegar to descale.
CC: Just A Dad Videos via YouTube
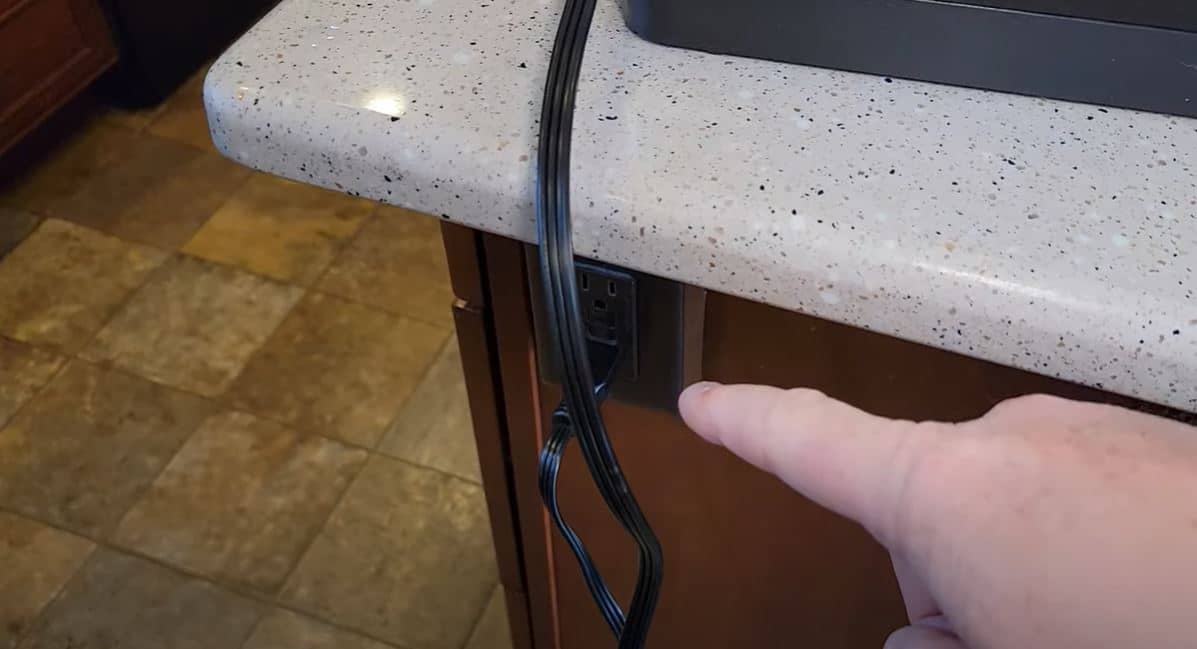
8. Double-Check the Power
Once you add the cover back to the reservoir, double-check that your Keurig K Slim is plugged securely into your power source. It’ll need power throughout the descaling process.
CC: Just A Dad Videos via YouTube
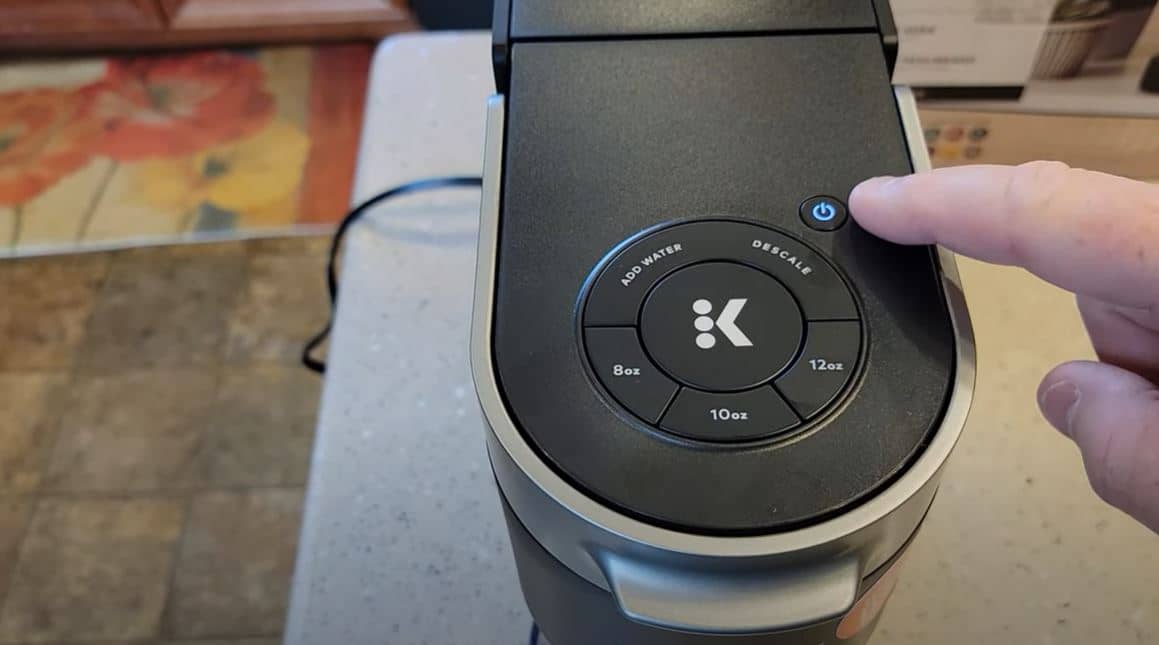
9. Switch the Power Off
Now it’s time to get your Keurig in Descale mode. However, to do so, you first have to turn the machine off by pressing the power button. Once it’s off, make sure none of the lights are on.
CC: Just A Dad Videos via YouTube
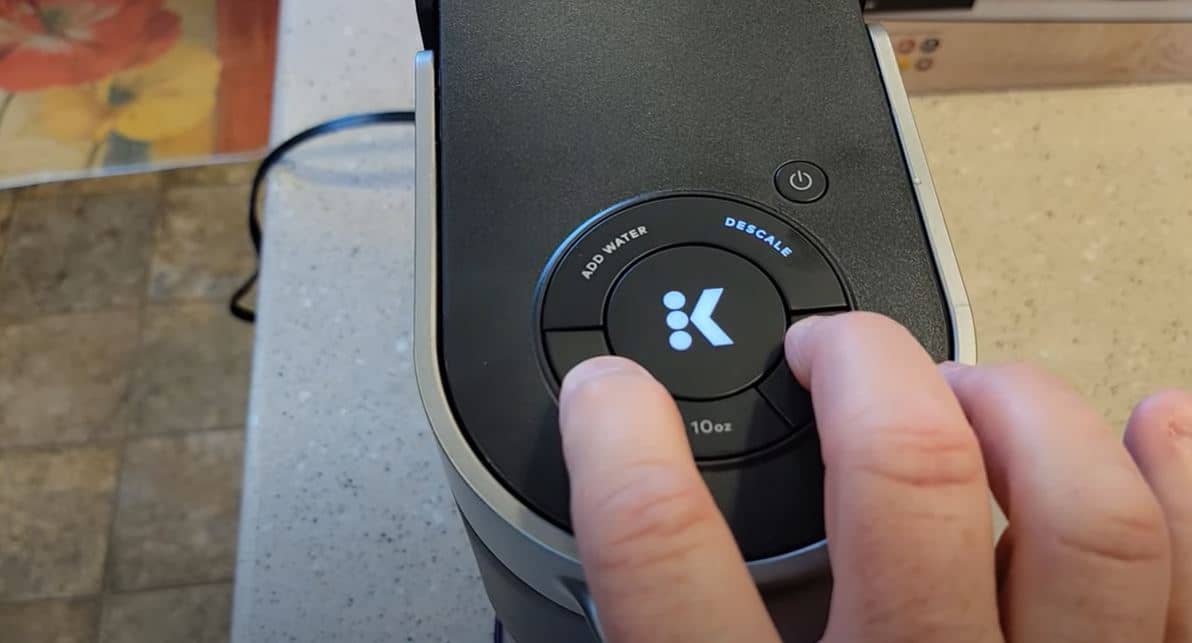
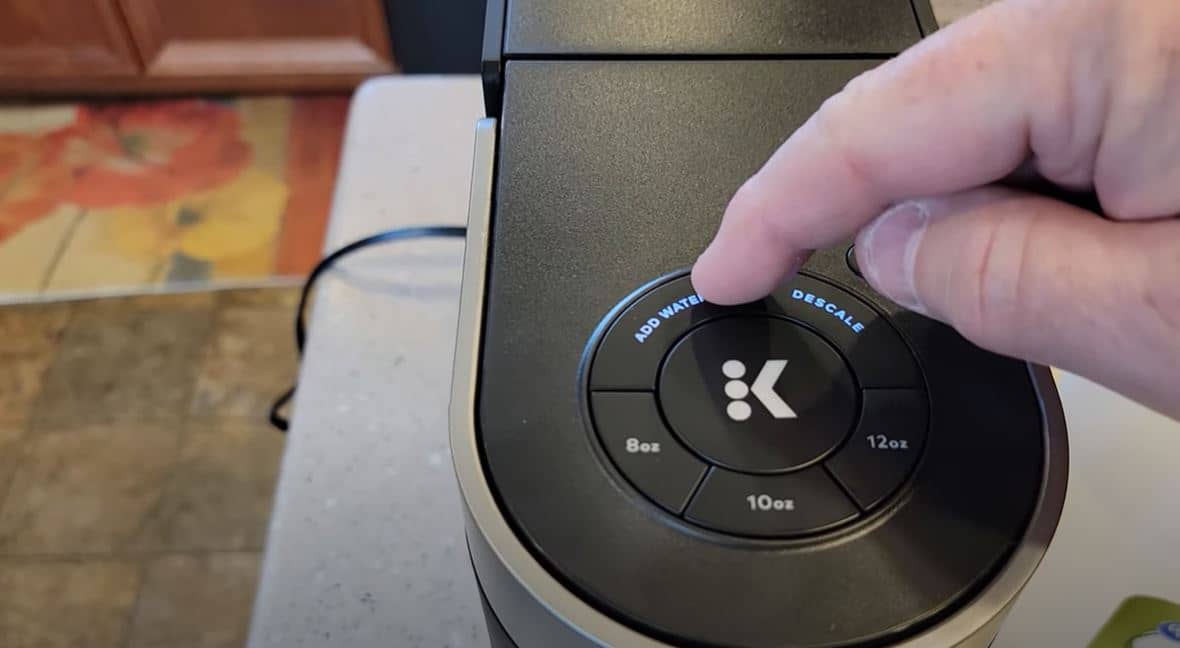
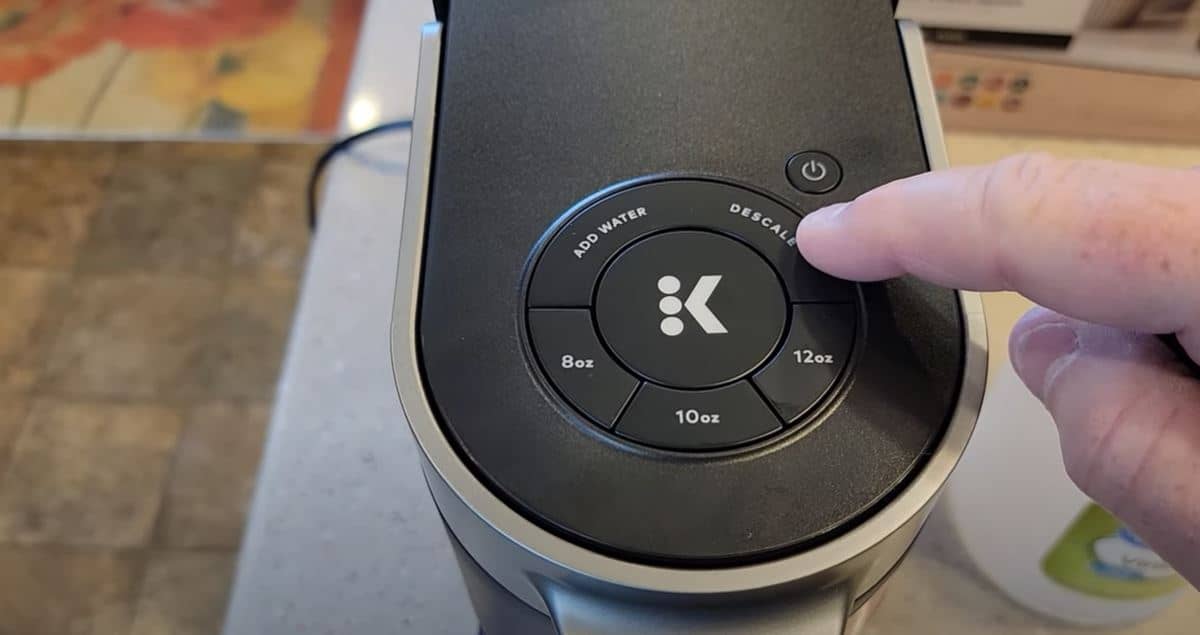
10. Enter Descale Mode
With the machine off, hold down the 8-ounce and 12-ounce buttons simultaneously for a few seconds. Eventually, this will kick the Keurig into Descale mode. When it enters it, the Descale light will come on solidly and the K button will flash.
CC: Just A Dad Videos via YouTube
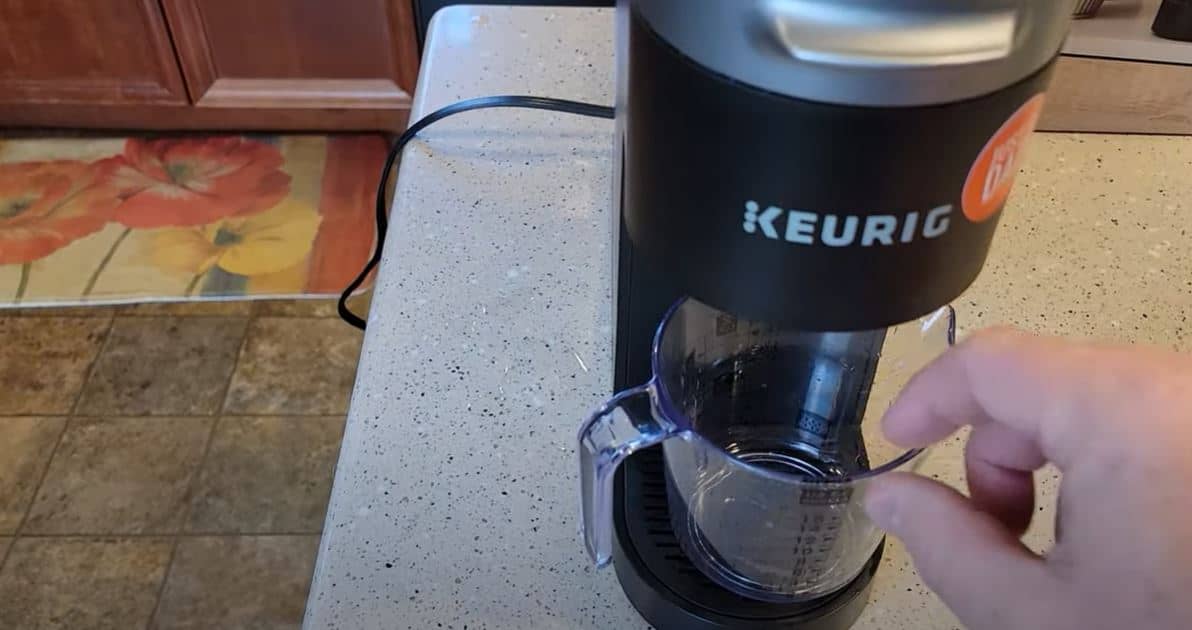
11. Place Your Container to Catch the Mixture
Get your measuring cup or bowl and place it where you’d normally put your cup to catch your coffee when you make it. This is where the vinegar descaling solution will come out.
CC: Just A Dad Videos via YouTube
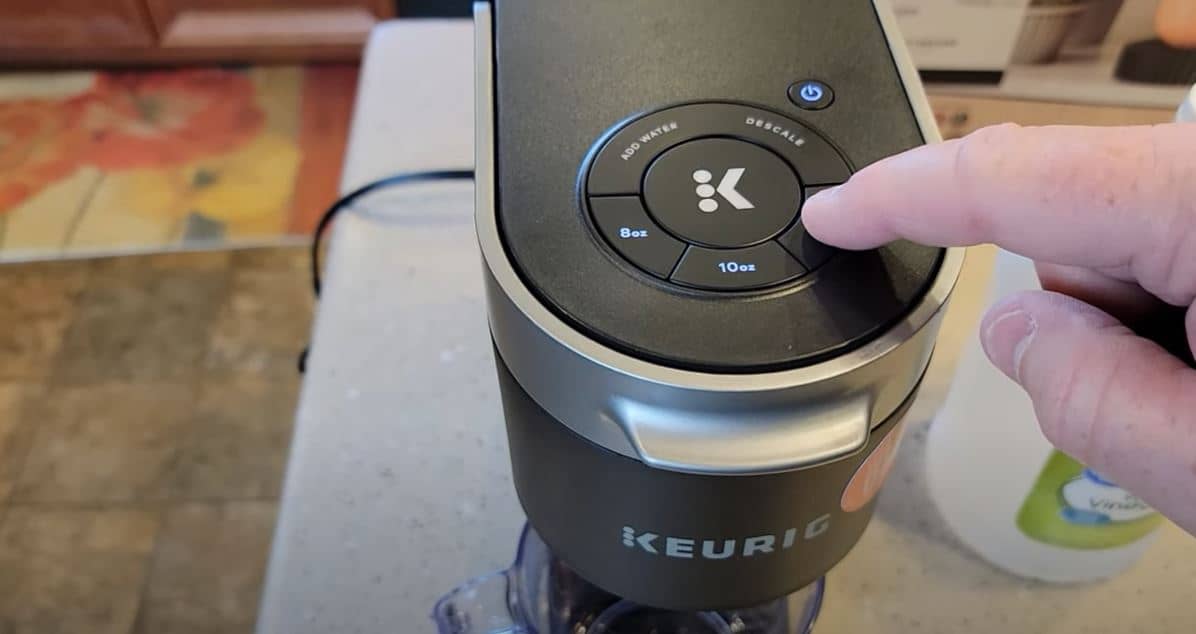
12. Start Descale Mode
Once you have everything in place so the water doesn’t run all over and make a mess, you’ll start descale mode. To do so, press the K button on the top of your machine.

CC: Just A Dad Videos via YouTube
13. Allow the First Cycle to Run
Clicking the K button will start the descaling process. Your Keurig will run roughly 12 ounces of water and vinegar through during the first cycle into your measuring cup. Be very careful to avoid splashes because the water will be piping hot.
CC: Just A Dad Videos via YouTube
14. Empty the Container
After a minute or two, your Keurig will stop running. Take the measuring cup and carefully dump out the hot water and vinegar mixture. You’ll notice at this point that the K button goes from solid to flashing.
CC: Just A Dad Videos via YouTube
15. Press the K Button to Run a Second Cycle
Once you have your emptied container back, press the K button to run a second cycle. At this point, you won’t have quite enough water to run a full third cycle.

CC: Just A Dad Videos via YouTube
16. Remove the Reservoir
When the Add Water button flashes, don’t touch it. Don’t lift up the handle, don’t move anything. Instead, carefully go around to the reservoir, remove it, and dump out the small amount of vinegar and water remaining.
CC: Just A Dad Videos via YouTube
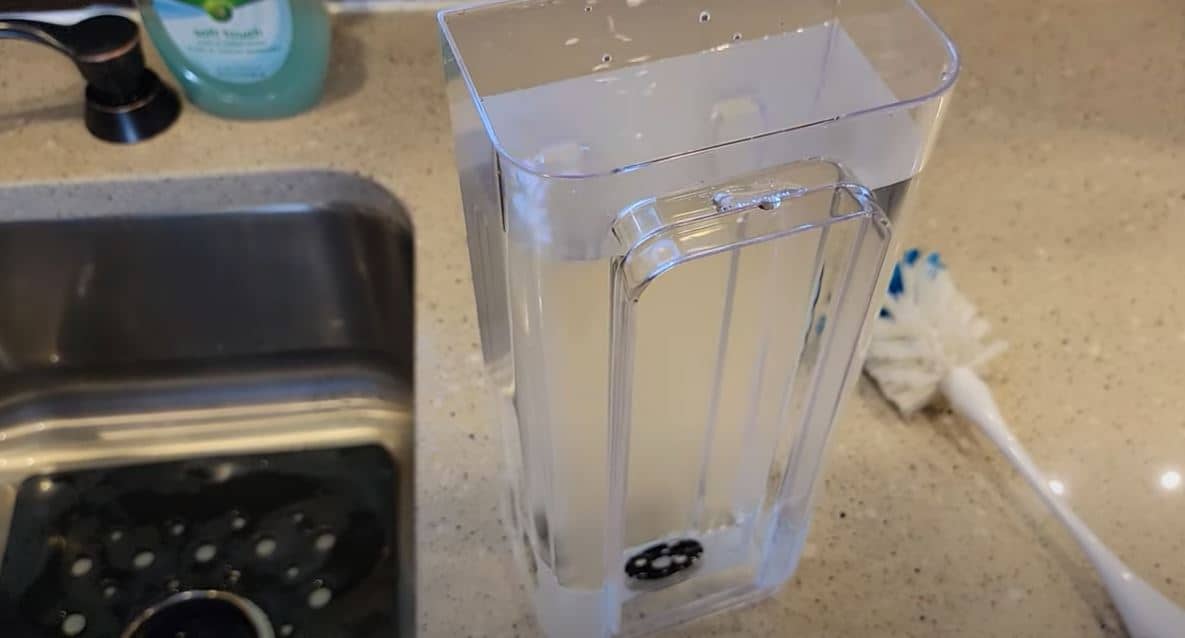
17. Wash the Reservoir
Get hot soap and water and a brush and thoroughly wash out the reservoir. Be careful to get in all of the small spaces so there isn’t any vinegar residue left as this can taint the flavor of your coffee. It also imparts a smell.
CC: Just A Dad Videos via YouTube
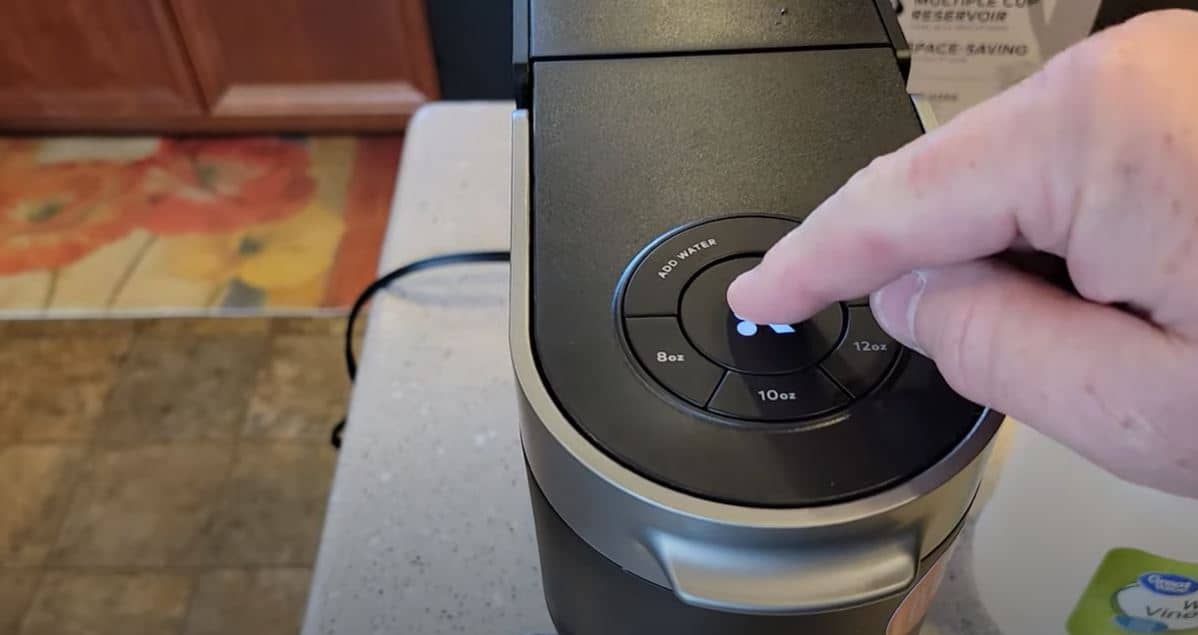
18. Run a Clean Water Cycle
Fill the cleaner reservoir to the max fill line and put it back into place on your Keurig. At this point, the Add Water light will go off, the Descale light will be on, and the K button will flash. Press the K button to start a clean water cycle while still in Descale mode.
CC: Just A Dad Videos via YouTube
19. Continue Running Rinse Cycles Until the Descale Light Goes Off
You’ll have to run the rinse cycle between two and four times before your Keurig’s descale light goes off. It’ll run between 12 and 14 ounces each cycle, and you just dump the water, put the measuring cup back in place, and push the K button until the descale light switches off. It’ll click off when the reservoir gets to the point where you need to add water because it doesn’t have enough to run a full cycle.
CC: Just A Dad Videos via YouTube
20. Refill the Reservoir
If you use Keurig’s descaling solution, you’re done. However, with vinegar, there’s more to do to ensure there is no lingering taste. Take the reservoir and fill it to the max fill line with water.

CC: Just A Dad Videos via YouTube
21. Switch the Keurig K Slim On and Run 3 to 4 Rinses
Switch your machine on and lift the handle to check that the K-cup area is empty. Close it back down and run three or four 12-ounce rinses using fresh water. This is to make sure all of the vinegar residue is out of the machine.
CC: Just A Dad Videos via YouTube
FAQ
1. How Do I Put My Keurig Slim In Descale Mode?
With the machine off, hold down the 8-ounce and 12-ounce buttons simultaneously for a few seconds to enter descale mode.
2. How Much Vinegar Do You Use to Descale a Keurig Slim?
Use 14-ounces (2 cups) of vinegar to descale your Keurig Slim.
3. How Do I Turn Off the Descale Light on My Keurig Slim?
The light should go off automatically, but if it doesn’t, unplug the machine, wait three minutes, and plug it back in. We also have this detailed guide if your descale light still won't turn off.
This guide was written by Sara. You can learn more about Sara on our About the Team page.