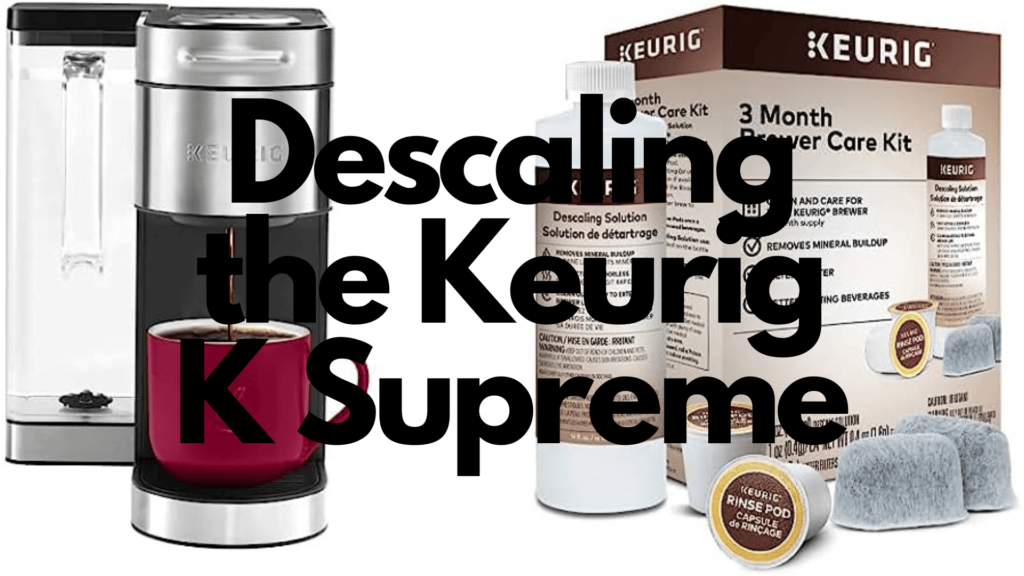
How long your Keurig K Supreme lasts and works how it's supposed to will largely depend on how much regular upkeep and maintenance you do. Descaling is one of those important cleaning processes that helps remove any mineral buildup inside your machine. These minerals come from your tap water and can impact how your Keurig runs and coffee tastes. By “descaling” regularly, you can ensure you have great-tasting coffee and a machine that works flawlessly each time you use it.
Descaling a Keurig K Supreme starts with filling the water reservoir with a descaling solution or white vinegar, running several brewing cycles without a K-cup until empty, waiting 30 minutes to an hour, then rinsing the machine with brews of water. Descaling should take place every few months, especially if the machine is used every day.
This guide will provide a comprehensive, step-by-step approach to descaling your Keurig K Supreme using both a descaling solution and vinegar.
Contents:
What is the Definition of Descaling Solution?
Steps to Descale K Supreme utilizing Descaling Solution (7 Steps)
Method to Descale K Supreme with Vinegar (6 Steps)
Frequently Asked Questions
How to Descale Keurig K Supreme With Descaling Solution & Vinegar
What is a Descaling Solution?
Descaling solution is a specially formulated product that removes mineral buildup like limescale that accumulates in kettles, coffee machines, and other appliances that heat water regularly. If you don’t address this buildup, it can slow down your machine’s performance and affect how your coffee tastes.
One of the main ingredients in descaling solution is citric acid. This is a very weak organic acid that you find naturally in citrus fruits like limes, lemons, or oranges. When it gets mixed into a descaling solution, the citric acid has a reaction with the minerals, and it’ll eventually break them down so you can easily rinse them away.
You should note that citric acid is a very popular ingredient in descaling solutions because it’s extremely effective at breaking down the mineral buildup. It’s also less corrosive on any machine parts it comes into contact with, and it’s biodegradable. Additionally, it’s generally recognized as safe to ingest, so if you accidentally leave residual traces behind after you descale your Keurig K Supreme, it won’t affect your health.
There are dozens of descaling solutions on the market, and some people make their own using white vinegar and water to descale their machines. You do have to make a point to use these solutions correctly so you don’t accidentally damage your machine.
Related: To learn about the ingredients in the official Keurig descaling solution, read our detailed guide here
How to Descale Keurig K Supreme with Descaling Solution
Let's walk through from start to finish below the whole descaling process. It should take between 30 minutes to an hour.
Step One – Get Your Workspace Ready
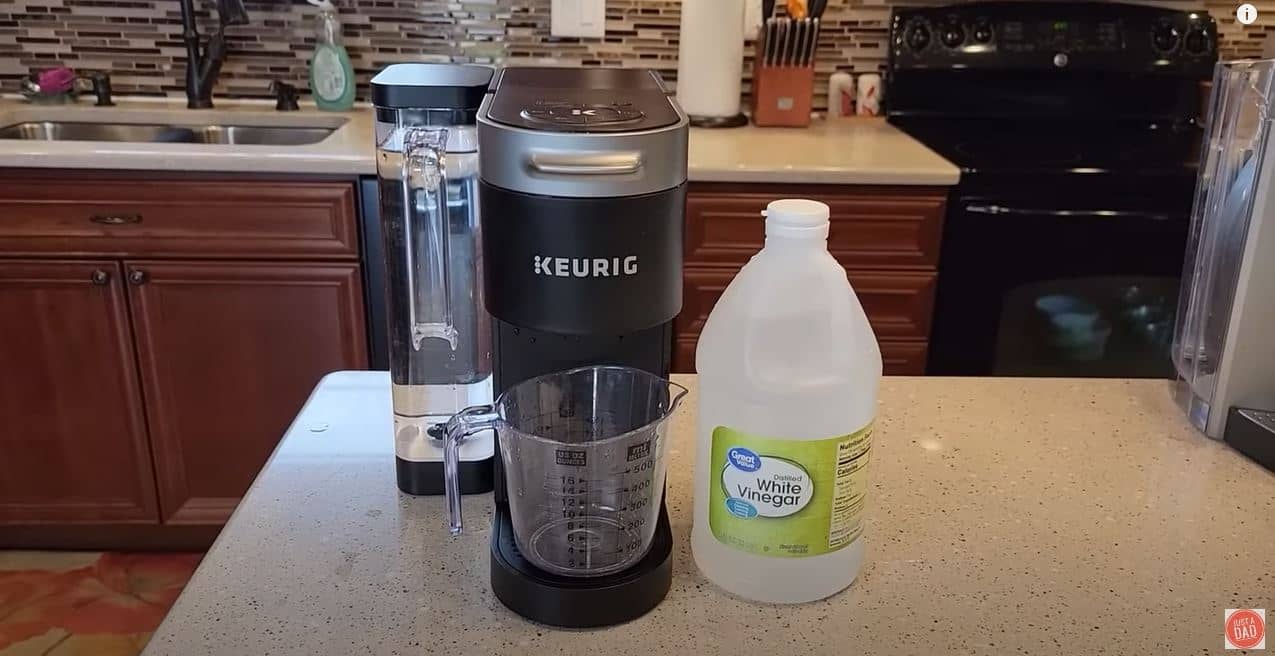
First, get your descaler and your Keurig, making sure you have a large enough work surface to set them on and move around. Set your Keurig on this counter or table, keeping it plugged in but the power off. You’ll also want to get something to catch the descaler as it runs through the Keurig, like a glass measuring cup. Once you get everything set up, you’re ready to start the descaling process.
CC: Just a Dad Videos via YouTube
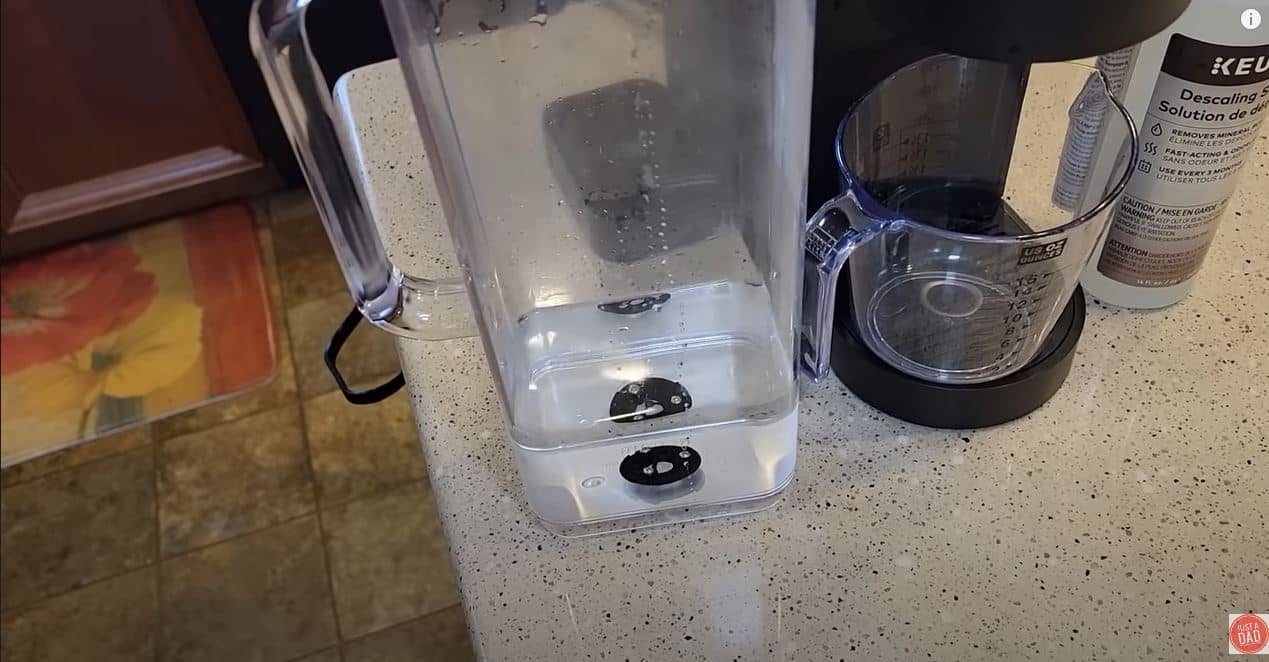
Step Two – Remove and Empty the Water Tank and Any K-Cups
Carefully take the water tank from your Keurig and empty it. If your model has a water filter, you’ll want to remove this too at this point. Once you have the filter empty, put it back on your Keurig, and double-check that you don’t have a K-cup in the holder. If you do, remove it.

CC: Just a Dad Videos via YouTube
Step Three – Add the Descaler
For this process, you should get the Keurig-branded descaling solution because it comes specially designed to work with these machines. If you’ve never used it before, you can peel the label back and find step-by-step instructions. To start, you’ll carefully pour the whole bottle of descaler into your Keurig’s water reservoir.
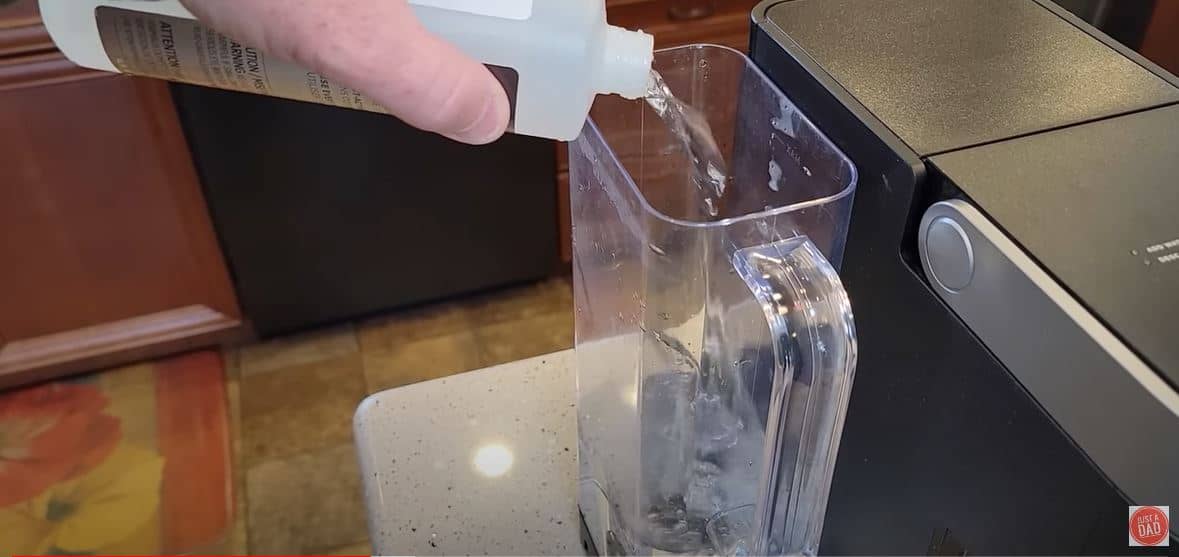
CC: Just a Dad Videos via YouTube
Step Four – Enter Descaling Mode
A lot of Keurig machines come with a descaling mode, so the machine does the work for you once you add the descaling solution to the water reservoir. Once you have it in, switch the power off on your Keurig, leaving it plugged in. Press and hold the 8-ounce and 12-ounce buttons at the same time for three seconds to enter this mode.
CC: Just a Dad Videos via YouTube
Once you do, the logo with flash and the descale light will come on.
CC: Just a Dad Videos via YouTube
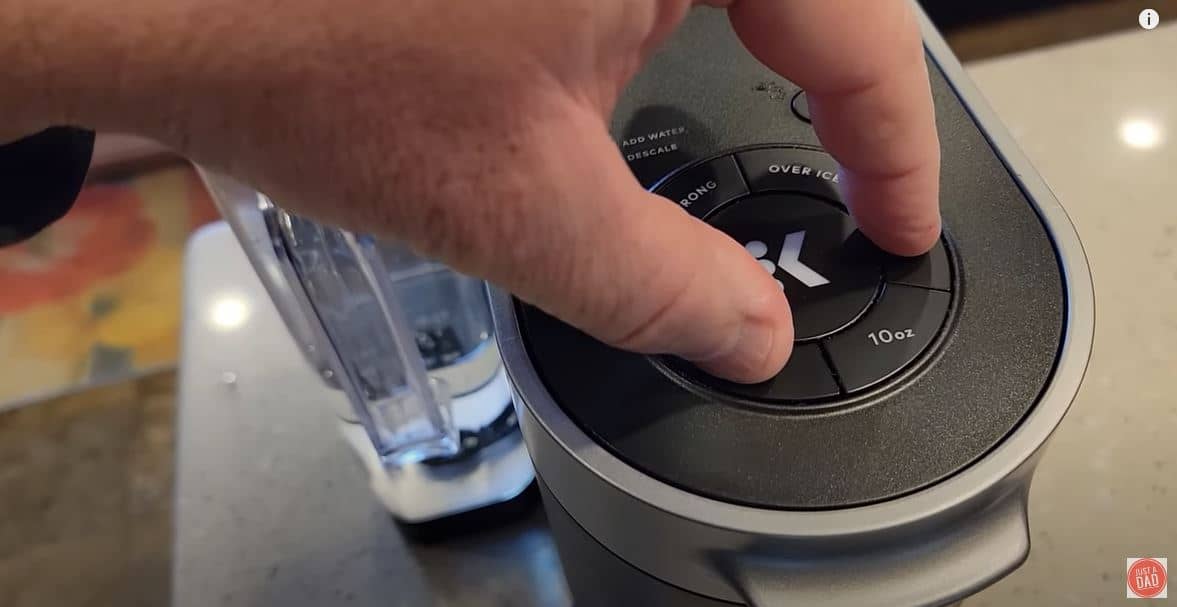
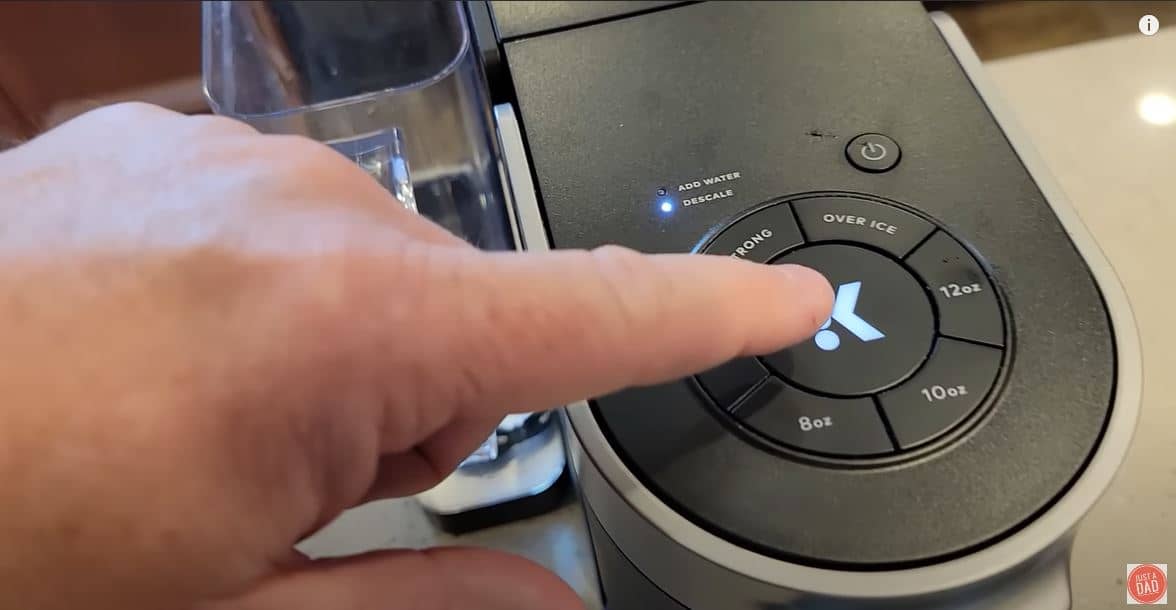
Step Five – Start the Descaling Process
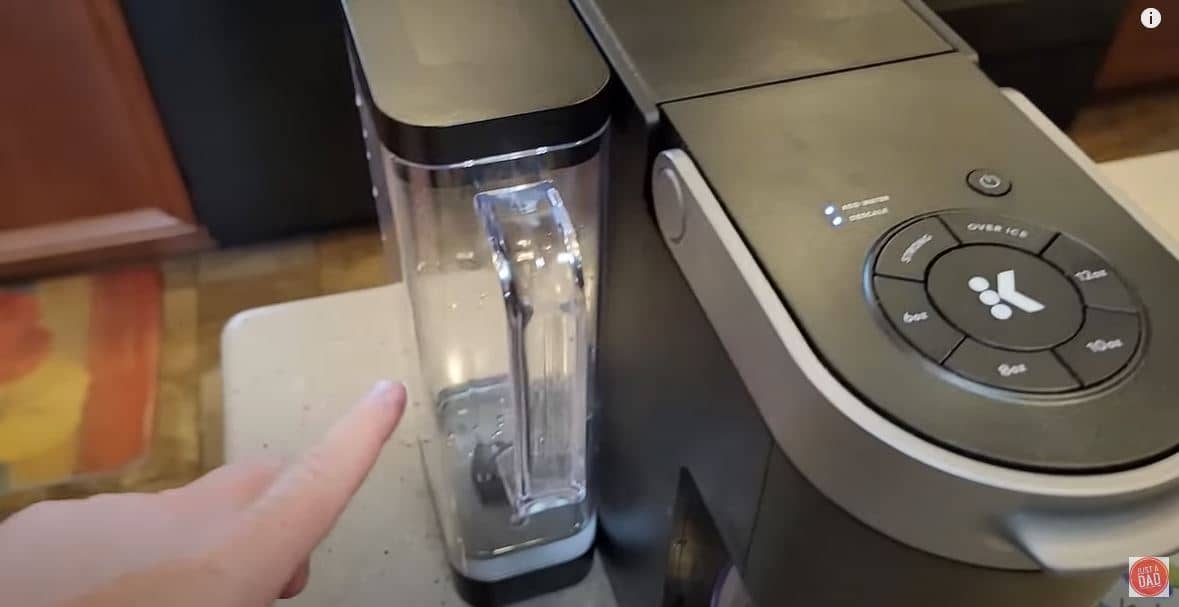
When the K button flashes blue, you press it to start the descaling mode with your Keurig. When you do, it’ll start running the descaler through the Keurig and out into your glass measuring cup of whatever you want to use to catch it. So, make sure you have something in place so the descaler doesn’t run all over the table and make a mess. Allow it to run until it stops and the “add water” light comes on.
CC: Just a Dad Videos via YouTube
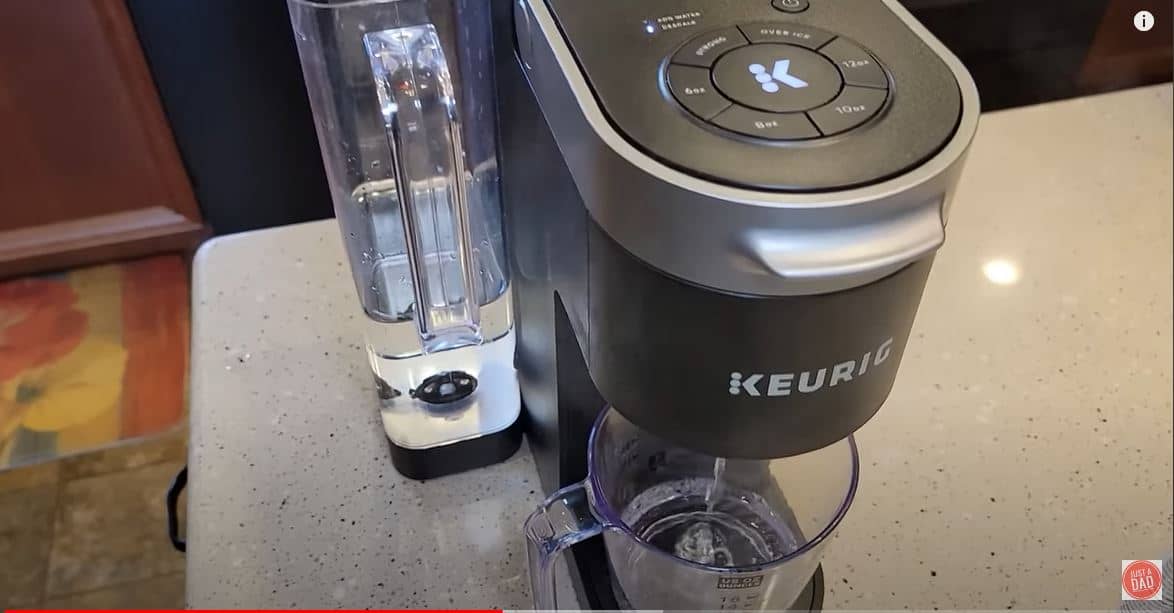
Step Six – Run Fresh Water to Rinse the Keurig
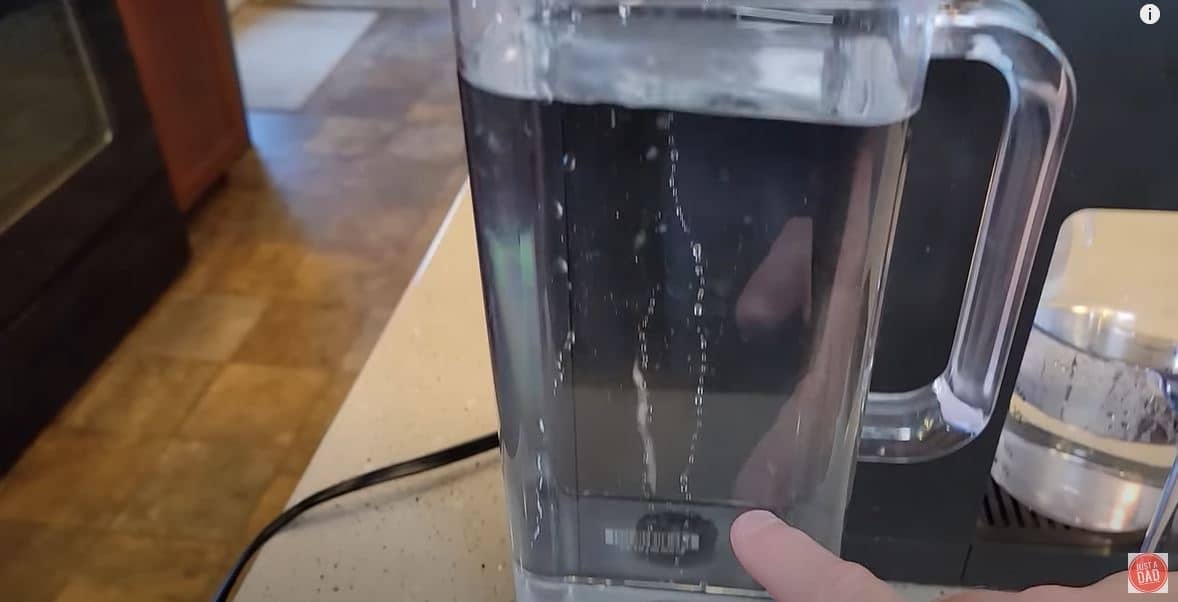
Keeping the Keurig in descaling mode, take your water reservoir and fill it with clean, fresh water to the max fill line. Press the K button and allow the water to run through your Keurig until it stops. When it does, the descale light should go off.
CC: Just a Dad Videos via YouTube
Step Seven – Set Your Keurig up to Brew
Fill the water reservoir a second time with fresh, clean water and press the power button to switch your Keurig back on. It should automatically come out of descale mode, and now it’s ready to use whenever you want.
CC: Just a Dad Videos via YouTube
Related: Is your Keurig machine not working after descaling? Read our guide to fix it here.
How to Descale Keurig K Supreme With Vinegar
Descaling with vinegar is very close to the same process you use when you use a commercial descaling solution. However, you’ll add a little water at the start of the process and run two or three rinse cycles at the end to get rid of the vinegar.
What is Vinegar and How Does it Clean?
Vinegar is a versatile liquid that contains 5%-20% acetic acid by volume, as well as water and trace chemicals such as flavorings. It is created by acetic acid bacteria fermenting ethanol. The flavor, acidity, and complexity of the resulting vinegar are influenced by the type and quantity of acetic acid bacteria used, the fermentation process, and the starting material (such as apple cider for apple cider vinegar or malted barley for malt vinegar).
The cleaning properties of vinegar are primarily due to its acetic acid content. Although acetic acid is a weak acid, it is effective at killing a wide range of bacteria and molds. It's also a good solvent for a variety of organic compounds, grease, and grime.
When it comes to descaling, vinegar's acetic acid can help dissolve mineral buildup in coffee makers, kettles, and other similar appliances. When water is heated or allowed to evaporate, these minerals, primarily calcium and magnesium, are left behind. These deposits can have an impact on the machine's performance as well as the taste of the coffee or tea it produces over time.
Acetic acid reacts with these mineral deposits, dissolving them into more soluble compounds that can be washed away. As a result, vinegar is frequently used as a low-cost and environmentally friendly alternative to commercial descaling solutions. Despite vinegar's effectiveness, it is critical to thoroughly rinse appliances after descaling with vinegar to ensure no residual vinegar taste or smell remains.
How to Descale Keurig K Supreme with Vinegar
If you don’t have a descaler handy or you want to go the more natural route with vinegar, you can safely descale your Keurig K Supreme with it. I personally like to use vineger to descale and clean my appliances because it does a great job cutting through grime and grease without any harsh chemicals. Again, this process takes between 20 and 30 minutes from start to finish, and it involves the following steps.
Step One – Gather Your Ingredients and Tools
To start, place your Keurig on a stable, flat surface that is large enough for you to have all of your tools and items. You should also have room to work and move around as needed without worrying about bumping anything. You’ll need your Keurig, something to catch the vinegar, and vinegar. You’ll also empty the water reservoir, double-check you don’t have a K-cup in, and remove the water filter if your model has one.
CC: Just a Dad Videos via YouTube
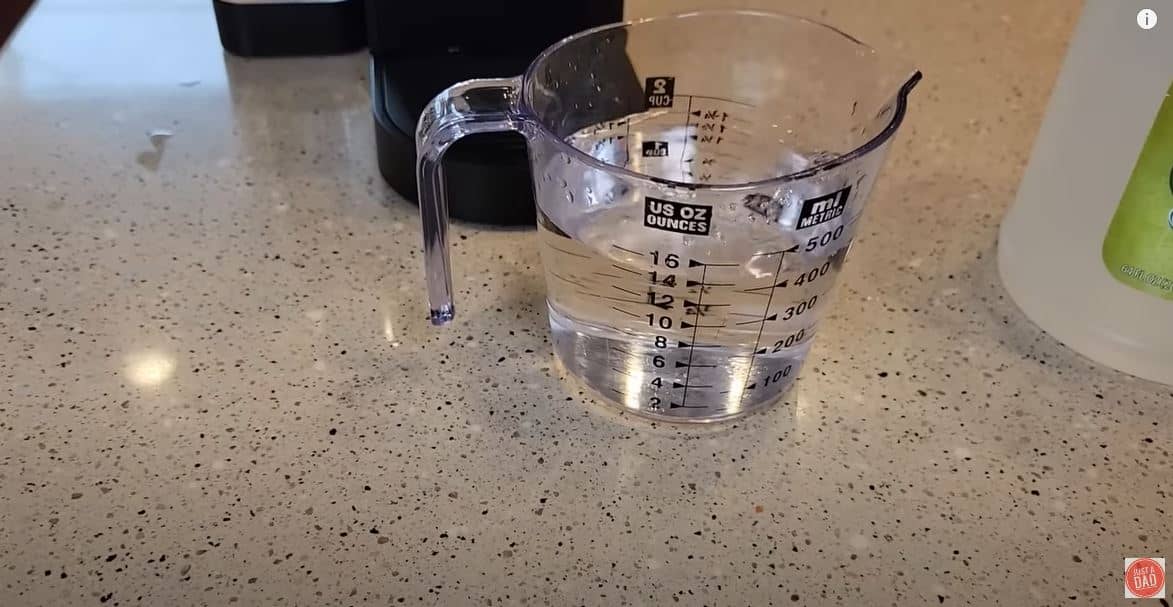
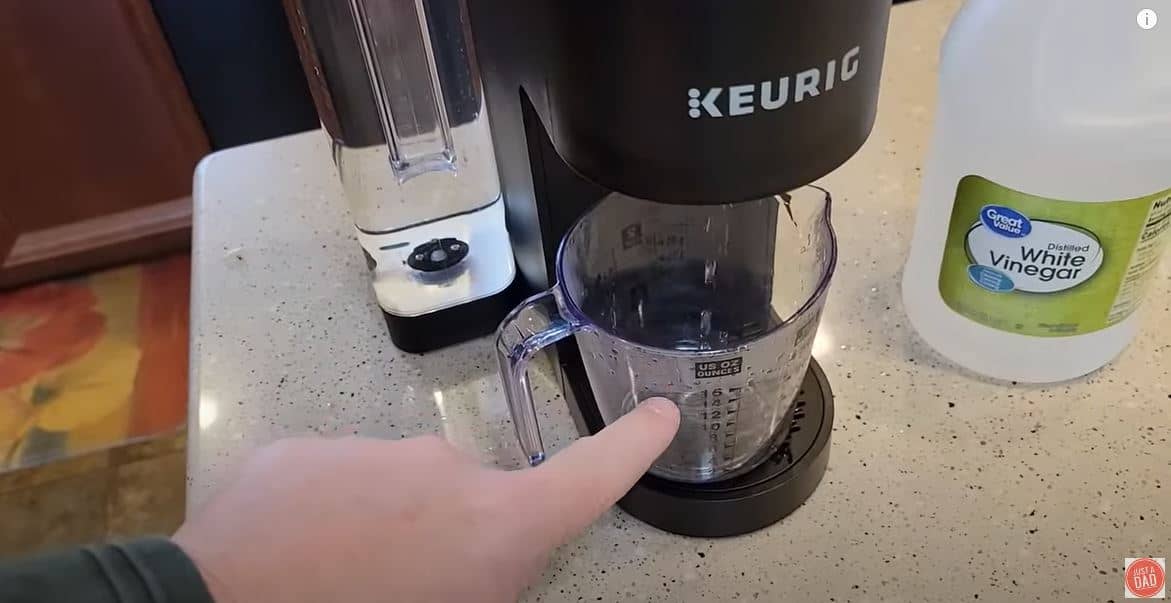
Step Two – Measure and Add the Vinegar and Water
Unlike the descaler where you dumped the whole bottle in, you’ll add 14-ounces of vinegar to your water reservoir. When that’s in, you’ll get 14-ounces of fresh water and pour it into the reservoir with the vinegar.
CC: Just a Dad Videos via YouTube
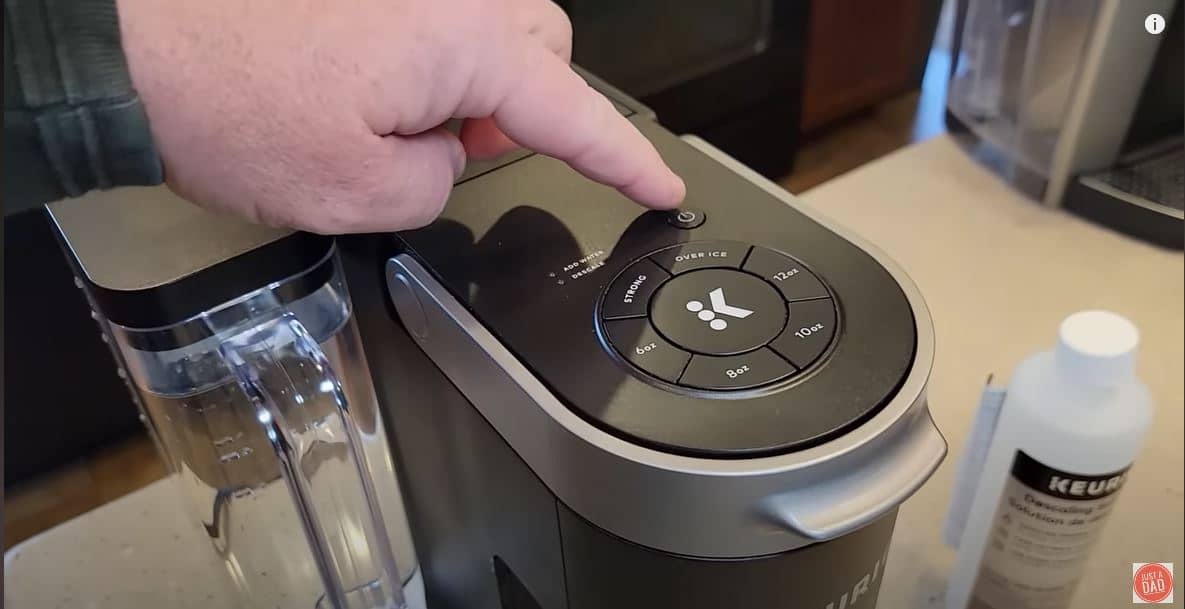
Step Three – Enter Descaling Mode
To enter descaling mode, you’ll switch the power off on your Keurig so no lights are on. Then, you’ll press the 8-ounce and 12-ounce buttons at the same time and hold them for three seconds. This will prompt the Keurig to enter the descale mode. The K light will flash and the descale button will illuminate.
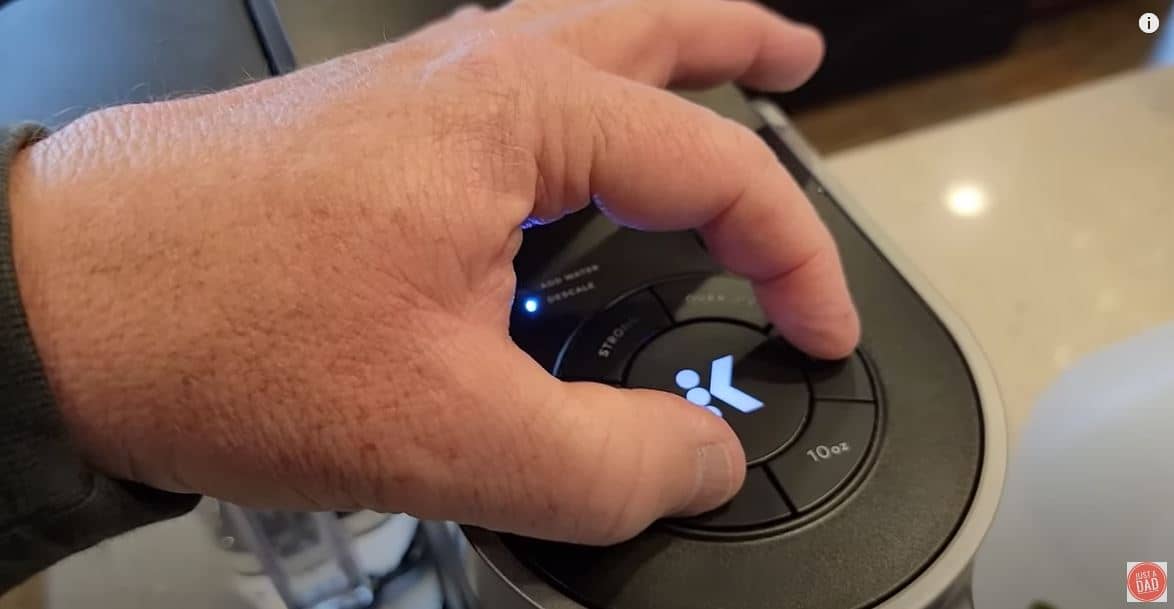
CC: Just a Dad Videos via YouTube
Step Four – Run a Descale Cycle
Next, you want to press the K button to prompt your Keurig to heat up the vinegar and water solution and run it through the machine. You’ll run the full 28-ounces of water through until it stops and the “add water” light comes on.
CC: Just a Dad Videos via YouTube
Step Five – Fill the Reservoir with Clean Water and Run a Cycle
Without touching any buttons on your Keurig, empty any remaining water and vinegar mix, thoroughly rinse the reservoir, and refill it with clean water. Get your measuring cup in place to catch the water and press the K button. This will start running the clean water through the Keurig while it’s still in descale mode. You may have to press the K button four or five times or however long it takes the “add water” light to come on. Once you get to this point, you finished descaling your Keurig K Supreme.
CC: Just a Dad Videos via YouTube
Step Six – Run Additional Rinse Cycles
At this point, if you use a descaler, you’re done. However, vinegar can linger, especially the smell and taste as a residue. So, it’s a good idea to run two or three more cycles with fresh, clean water on each cycle to flush out any remaining vinegar. Once you do, you’re done and your Keurig is ready to go.

CC: Just a Dad Videos via YouTube
Related: Keurig not working after descaling with vinegar? Check out our fix it guide here
FAQs
How do I put my Keurig Supreme in descale mode?
To get into this mode, hold down the 8oz and 12oz buttons at same time until K starts flashing and the descale light comes on.
What happens if I don't put my Keurig Supreme in descale mode?
The machine won’t know it is being descaled and the descale warning light will not go off when you finish running a cycle.
How do I reset the descale light on my Keurig Supreme?
You’ll start the descale mode, run your cleaner of choice through the machine, and watch for the light to go off when it finishes.
My Keurig Supreme descale light won’t turn off after descaling
Check out our article: Keurig Descale Light Won’t Turn Off After Descaling