Did your Keurig stop working after cleaning it with white vinegar? Our guide will help you fix your Keurig and keep it clean safely.
Keeping your Keurig clean is a relatively simple process, but accidents happen. If you’ve used white vinegar to clean your machine and noticed it’s not working right, we can help!
White vinegar is a powerful cleaning solution for everything from your floor to the kitchen counter. While you may think it’s a good idea to run it through your coffee machine, be careful – this highly acidic compound can backfire if you don’t know how to dilute it properly.
We’ll explain why white vinegar can damage your machine, how to fix your Keurig, and which cleaning habits to use in the future.
So why may a Keurig not work after cleaning with vinegar?
A Keurig may not work after cleaning with vinegar because undiluted vinegar is very acidic and can damage the Keurig's internal components or reduce the coffee maker's performance. It's recommended to dilute vinegar with equal parts water before using it to descale a Keurig.
Related articles:
Does Keurig Replace Broken Machines?
Keurig Add Water Light Not Working – How to Fix Quick
Can Keurig Pods Be Used More than Once?
Contents:
- Introduction
- How To Fix a Broken Keurig After Descaling With Vinegar (Step-By-Step)
- Why Cleaning a Keurig With Vinegar Can Break It
- How to Descale a Keurig Safely
- Conclusion: White Vinegar Is Safer When Diluted With Water
Image Source: Pixabay
How to Fix a Broken Keurig after Descaling with Vinegar (Step-By-Step)
The good news – your Keurig might not actually be broken! These handy little machines can break down for a number of reasons, so let’s take a look at what could be causing the issue.
Step One: Rule Out Other Issues
Before you attempt to fix your Keurig, rule out other issues. There are many reasons why a Keurig won’t work, so vinegar could be the least of your problems!
Your first step – see if your Keurig turns on. If it doesn’t even turn on, you may have a model that’s grown old with age and is dying out. You also may have it plugged into the wall socket improperly. If you suspect either is an issue, unplug your Keurig and wait for five minutes before plugging it back in.
If your machine does turn on, consider brewing a cup and seeing what happens. If your Keurig turns on but doesn’t brew a full cup of coffee, then you likely have a descaling issue clogging your machine.
It’s possible your previous attempts at cleaning weren’t successful, so now you can consider another cleaning attempt.
Step Two: Double-Check the Needles
Your needles could be another contributor to your Keurig not working. When tiny pieces of debris get stuck in the K cup puncture needle (such as coffee bits or foil), it can disrupt the flow of water.
You can easily clean the area around your needle using a tiny, pointy object around the house – a toothpick or sewing needle will do the trick. A bobby pin might be too blunt for the task.
Once you’re done clearing any stuck debris, try running another diluted solution.
Step Three: Double-Check Your Reservoir Tube, Too
Another area debris can gather is the area where the reservoir tube enters your reservoir. Take a look to see if it’s clogged and use the narrow end of a cloth to swab it out gently.
Step Four: Run a Diluted Solution Through Your Keurig
Steer clear of straight vinegar – use a diluted solution of one cup of water and a cup of white vinegar. This lighter solution should be easier on your machine while still getting rid of pesky build-up.
Choose the maximum cup setting for your machine to save time going back and forth as your machine cleans itself out. Pay close attention to the color of your water – if it looks muddy, but gradually clears up, you’re good. If it stays muddy or doesn’t fill the cup all the way, you still have options.
Step Five: Use the Descaling Solution
Keurig’s descaling solution may be more expensive than a bottle of grocery store white vinegar, but it might just do the trick. They explicitly designed this solution for their machine with citric acid that’s gentle enough for the machine while keeping it clean.

Buy Official Keurig Descaling Solution on Amazon Here
Step Six: Turn on Your Keurig and Brew an Experimental Cup
After you’ve ruled out other issues and used either a diluted solution or descaling solution, brew another cup. At this point, you’ll have a good idea if your machine is truly broken or not.
A broken machine either won’t brew or will struggle to brew a full cup. If your machine is still struggling, your Keurig likely needs a professional eye or you need to buy a new model.
Why Cleaning a Keurig With Vinegar Can Break it
Although white vinegar is a powerful solution for clearing out debris and killing bacteria and even mold spores, you need to be careful. This acidic compound is quite strong in its base form and needs to be diluted with water.
Using only vinegar to clean your Keurig can be too harsh on your machine. We recommend using a cup of water and a cup of vinegar for your Keurig. If you need to use a little extra for a particularly dirty machine, that’s fine – as long as the measurements are equally half and half for each ingredient, you’re good. Top Three Tips on How to Descale a Keurig Safely
Save yourself some headache with good cleaning habits. Our top three tips will keep your Keurig working better and longer.
1. Use the Right Descaling Solution
Next time you need to clean your Keurig, consider a white vinegar and water mixture. This solution dilutes the high acidity in white vinegar to keep it from corroding your machine.
The basic formula of equal parts white vinegar and water should do the trick.
2. Run Multiple Cups
To make sure you don’t have any leftover debris clogging your machine, run multiple cups. Three or four cups of a white vinegar and water solution should be enough to get your machine spotless.
3. Clean Your Keurig Every Few Months
We recommend descaling your Keurig every three to six months. Your model should also have a little light telling you when it needs to be cleaned.
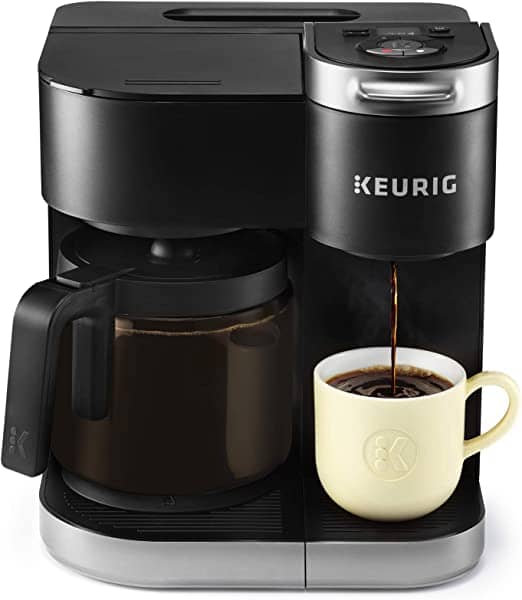
Frustrated with a broken Keurig? Check out my favorite Keurig model: The K-Duo, below.
FAQ
Have a few more questions on maintaining your Keurig? We’ll answer a few common ones below.
What Else Can I Use to Descale My Keurig?
Besides a carefully measured water and white vinegar solution, you can use Keurig’s official descaling solution.
There are also alternatives from popular brands such as Keurig Rinse Pods – just make sure to double check your descaling solution is compatible with your Keurig model.
Learn how to use Keurig rinse pods in my article here.
How Long Do You Leave Vinegar in Keurigs to Descale?
Since you want to give your vinegar and water solution time to work before rinsing it out with water, we recommend letting it sit for three to four hours. This will also give your a break from the many descale cycle brews and help prevent it from overheating.
Conclusion: White Vinegar Is Safer When Diluted With Water
White vinegar is a fantastic way to keep your Keurig free of calcium and debris. However, it works best when diluted with water.
Fixing your Keurig is a process of trial and error. More often than not, your Keurig might have some debris stuck in the needle or the reservoir entry that’s preventing it from working. Follow our steps closely to see if you can fix yours from home. If not, check the warranty on your purchase to see if you can get a replacement.

Is anyone else having an issue with the K Supreme coffee machine. This is my second one and I descale and clean the needles as directed. After the brew cycle starts the water comes out without going thru the kcup and leaks out. This is very frustrating and inconvenient.
Anyone else have this issue?
Same here! 😟
Turns on says descale and then turns off Does not stay on long enough to start descaling or brewing Tried turning off for 30 minutes ,cleaned tips Only 2 months old Help??