
If you’re coffee crazy and you own a Keurig coffee maker, you know how critical it is that your machine works correctly. However, one of the common problems you may run into is your Keurig add water light not working correctly, even when the water level is dangerously low. While this is a fixable problem, there are several reasons why it may occur.
If your Keurig add water light is not coming on or staying on, there are a few potential fixes. Try shaking the water tank first to unstick the floater that tells the machine how high the water level is in the device. If this doesn’t work, you can clean out the water dispensing hole, or you can clean and blow out the tubes in your coffee maker.
Whether your Keurig add water light is flashing, stuck on, or won’t come off, we’ll help you solve this frustrating mystery below so you can enjoy a hot cup of coffee whenever you want.
-
How Does the Keurig Add Water Light Work?
-
Which Keurig Models Have an Add Water Light
-
Add Water Light Not Coming On
-
Add Water Light Stays On
-
Add Water Light Flashing
- K-Supreme Add Water Light
- K-Elite Add Water Light
-
FAQs
If you're having other problems with your Keurig, you may find the article below helpful:
Keurig Descale Light Won't Turn Off After Descaling – Quick Fix
How Does the Keurig Add Water Light Work?
 Before we dive into how to fix your Keurig’s add water light issue, it’s essential to understand precisely how this feature works. The add water light is a sensor built into the coffee maker that detects how much water you have in your Keurig’s reservoir tank. When the water level dips below a set point, it triggers this sensor. In turn, the light will switch on to let you know it’s time to add more water so you can keep brewing delicious coffee.
The sensor has a float mechanism inside the machine’s water reservoir tank. The float is a very lightweight, small device that sits on the water and moves down or up as the water level fluctuates. The float will also drop when the water level goes below a certain point. This will activate a switch inside your sensor, and your machine will display the “add water” light as a visual cue that your machine needs attention.
You’ll add water to get the float back up to levels above the sensor’s triggering point to use your Keurig again. This also helps ensure you never attempt to run the machine dry, but what happens when this system malfunctions, and which models have it?
Which Keurig Coffee Maker Models Have an Add Water Light
It’s crucial to figure out what model you have because not all of them come outfitted with the add water light. However, it’s a standard feature on the:
- K-Classic
- K-Elite
- K-Select
- K-Mini
- K-Mini Plus
- K-Compact
In addition, you should note that some Keurig models have a different name for your add water sensor. For example, Keurig’s 2.0 models call it the Water Level Guide, which serves the same purpose as the Add Water light.
How to Fix Keurig Add Water Light Not Coming On
To fix this problem, you want to remove the water tank and gently shake it. This will help the floater come loose from wherever it’s stuck. Ideally, you’ll thoroughly clean the tank after you get the floater loose to prevent it from getting stuck again immediately. While this is generally a more manageable issue, if the problem keeps happening after you attempt to free the floater, you want to keep a close eye on the water level in the tank to ensure it doesn’t run dry and cause damage.
You'll want to check the sensor if you troubleshoot and find that your float isn’t stuck. In this case, you’ll have to replace it, and you’ll want to contact Keurig customer support for help getting a replacement sensor for your machine.
Check the electrical connection if both the float and the sensor appear to be working. Ensure your outlet is working correctly and your machine has a secure connection. Finally, check the water level. If it’s above the minimum level line and your light still isn’t coming on, you may need customer support to order a replacement light.
How to Fix Keurig Add Water Light that Stays On
It’s common for the floater to get stuck due to scale buildup or because you haven’t had to use your Keurig for a few weeks. To fix this problem, you’ll want to start by taking out the water tank and gently shaking it until the floater comes free. Then, fill the reservoir again and see if your light goes off. If it doesn’t, the following options may resolve it:
Clean Your Water Reservoir
Remove it from the machine to clean the reservoir and dump the water out. If you look inside the reservoir, you’ll spot the hole that dispenses water. You won’t be able to reach it with your hand, so you can take a brush, like the one below, and try to scrub it from the inside. Another option is to pop the entire reservoir into the dishwasher.
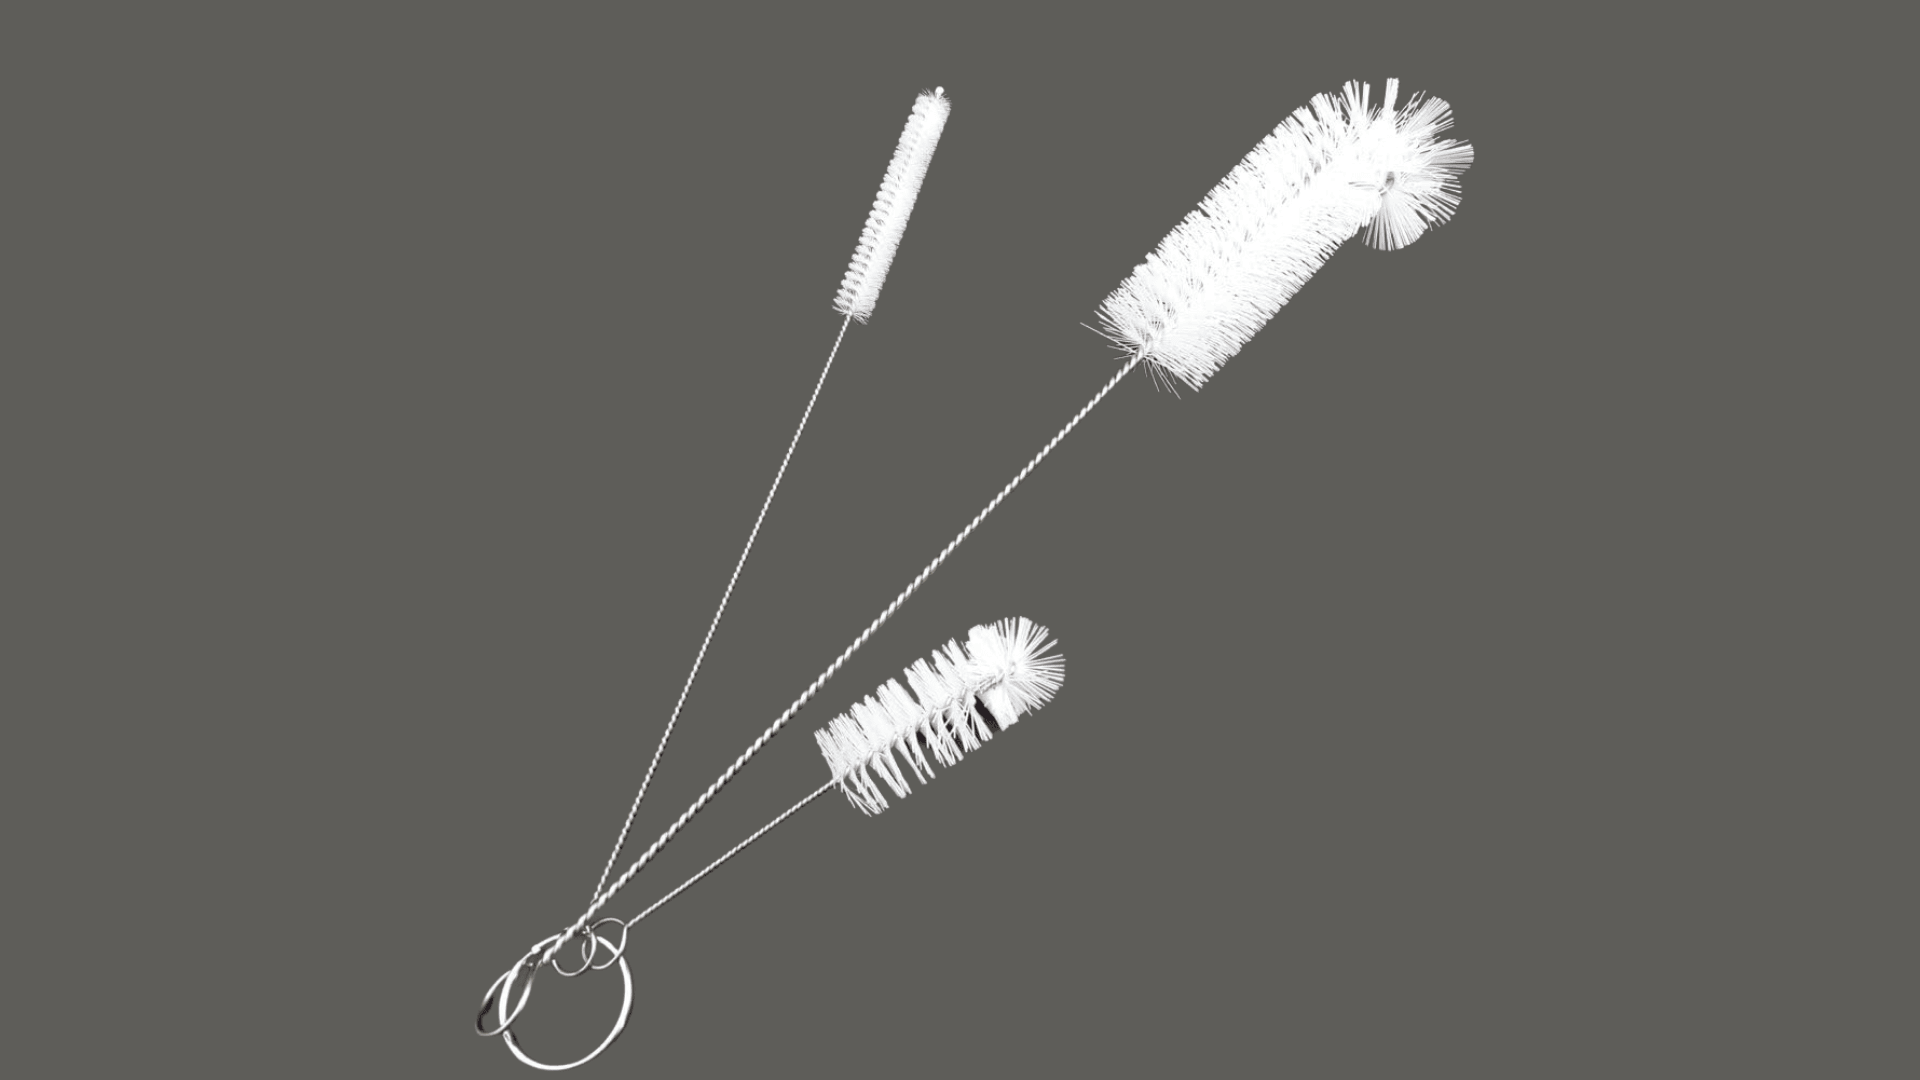

You can’t reach it with your hand, so you can take a brush and try cleaning it from the inside or put it in the dishwasher. Don’t forget to clean the other side with a brush as well.
Remove the Air or Water Stuck in the Overflow Tube
Dump out any remaining water in the tank and blow on this tube using either a balloon pump or your mouth. If you hear water or air escaping, this should fix your problem.
Clean Out Any Dirt and Debris Buildup from the Tubing
Once you remove the cap, you’ll see that one tube connects to a white part that sends water to the K-cup. You can carefully pull this tube off the white connection point. This tube can clog with coffee residue and limescale, so you’ll want to clean it. Once you clean out the tube, you want to gently blow into it to clear out any lingering debris. Next, reassemble your Keurig and see if the light goes off.
- Make Sure the Water Reservoir has a Proper Seal – If your water reservoir doesn’t have a good seal, this can throw off your sensor. Remove it from the machine and carefully put it back in place, ensuring a secure fit. You shouldn’t be able to wiggle it around if it has a good seal.
- Check the Reservoir for Damage – Inspect the reservoir for any damage or cracks. If you find anything, you’ll want to replace it.
- Check the Water Filter – If you use unfiltered water, it’s very easy for your Keurig filter to get clogged or dirty, impacting the sensor. If it’s dirty or clogged, replace it and see if the light quits flashing.
- Add Water – The light would flash because your reservoir's water level is too low. If this is the case, refill it and try again.
- Clean the Whole Machine – Over time, with repeated use, mineral deposits can build up inside Keurig and cause issues. Get a descaling solution and run it through a cycle to clean the machine.
How to Fix Keurig K Supreme Add Water Light Not Working
How to Fix Keurig K Select Add Water Light Not Working
If your K Select add water light isn't working I recommend checking out the video above.
FAQs
Keurig is an immensely popular coffee machine brand, so it’s common to have many questions surrounding them, especially when they’re not working as they should. A few frequently asked questions include but are not limited to:
You’ll find the magnet inside the water reservoir of the machine. This water level sensor lets you know when it’s time to refill it.
-
Fill the reservoir with water and put a descale solution K-cup into the holder.
-
Place a large mug or cup on the drip tray and run a brew cycle. Repeat this process until the water reservoir is empty.
-
Fill the reservoir with clean water and run several more brew cycles to rinse the machine.
-
Dispose of the water and repeat the process with clean water
Wrapping Up
The Keurig Add Water Light is an important feature that tells you when to refill the water reservoir. However, sometimes it may malfunction or stop working altogether. The process for fixing the add water light will vary depending on the specific issue you’re experiencing.